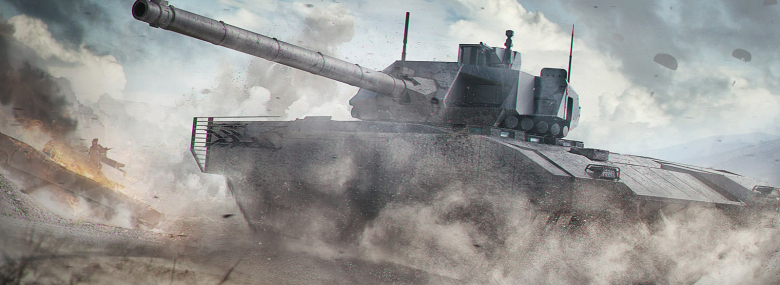
This processing plant is one of the last operational facilities of its kind in the world and it is priceless to several corporations. Mercenary forces have moved in to slug it out one last time and both sides are preparing for the decisive battle that will decide the fate of the region for years to come. Welcome to the Mojave Desert, commanders!
The Update 0.19 Chemical Plant PvP Map is the newest addition to Armored Warfare. It has a semi-open layout and allows for a large range of tactics suitable for every vehicle class.
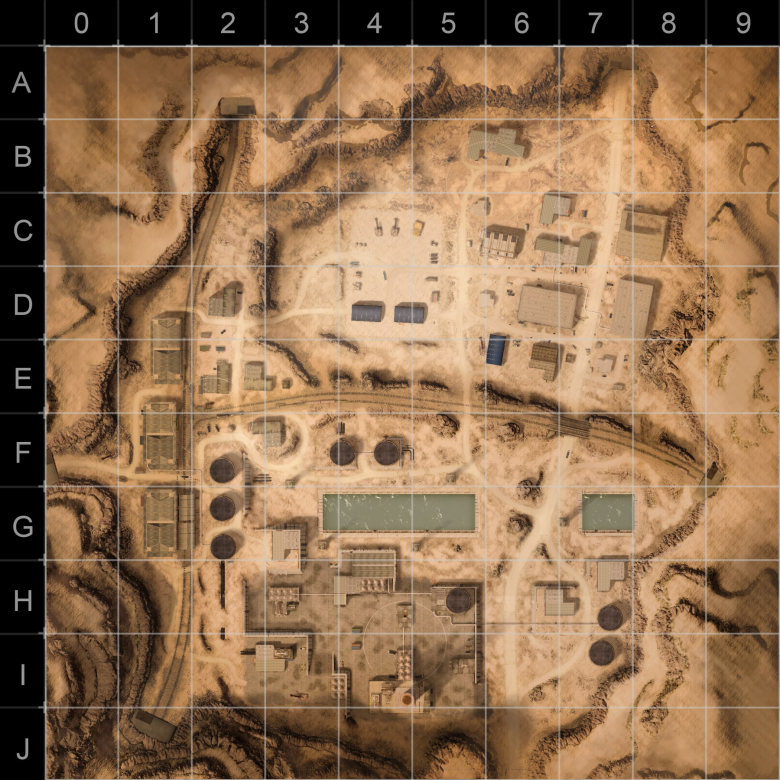
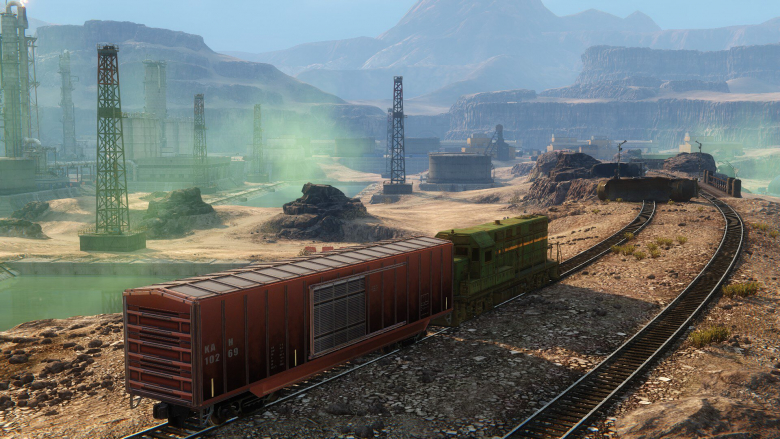
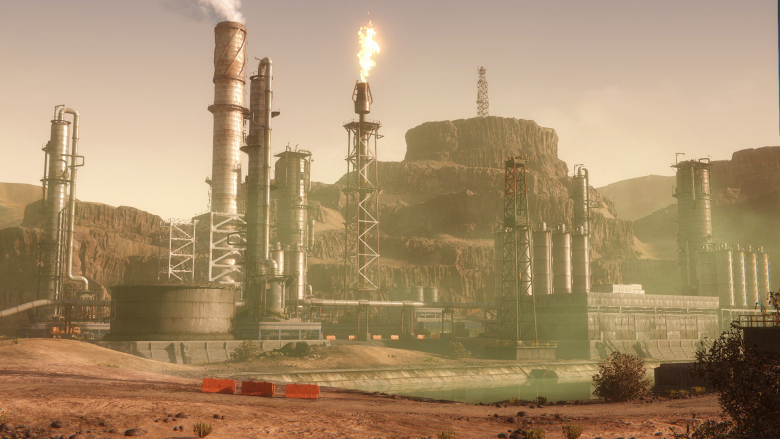
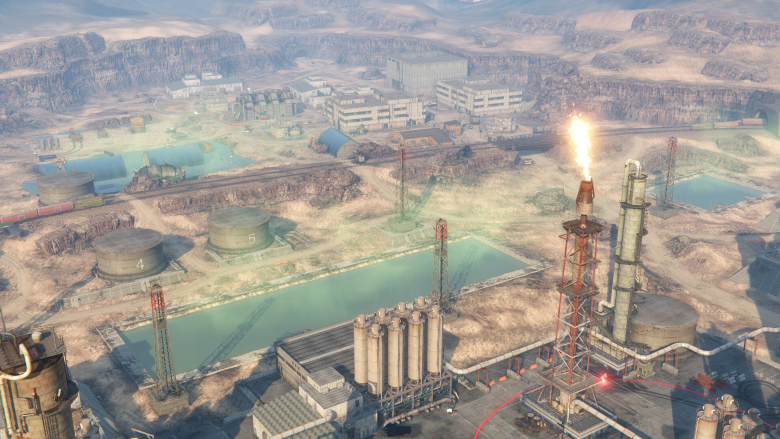
The southern half of the map consists of the main goal of the operation, a large Factory Area, separated from the rest of the map by massive walls that provide plenty of cover. Enormous processing towers obscure the line of sight from most of the vantage points found on this map. This area also includes the Southern Base, which the team must protect.
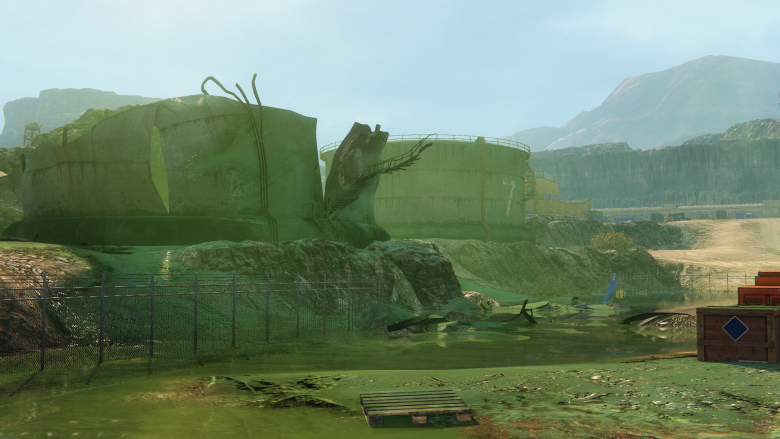
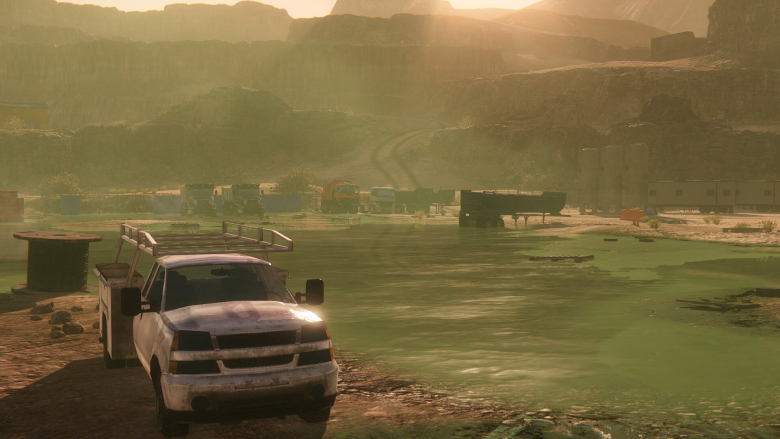
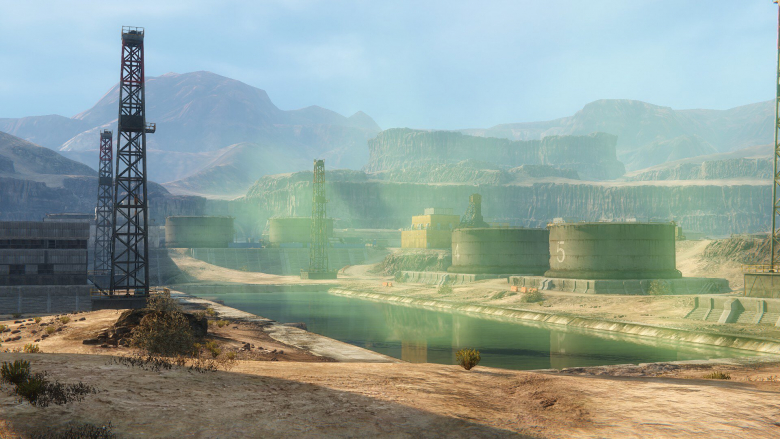
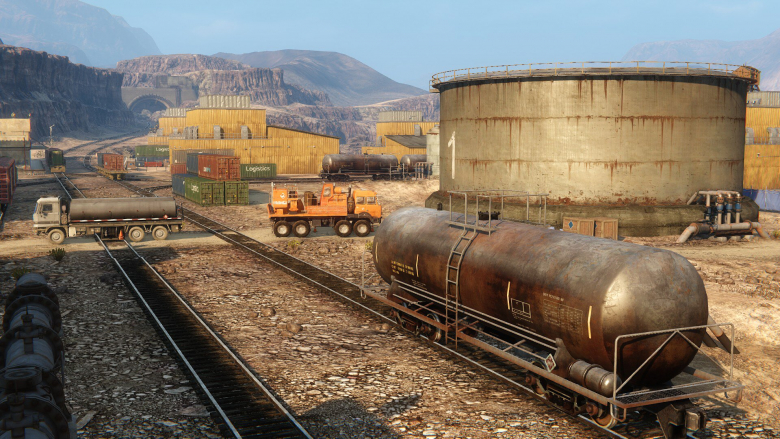
North of the Factory Area are Water Reservoirs, used in industrial processing. They are shallow but can provide welcome hull cover for vehicles with good gun depression. The last element on the southern part of the map contains chemical storages, some of which have already been damaged by fighting. These too can be used for cover, but beware of being flanked from the west or east.
The western area consists of a Railyard – a strategic location with plenty of cover. Capturing it allows players to control both halves of the map with precise directed crossfire. Additionally, the Encounter mode base is located in that area.
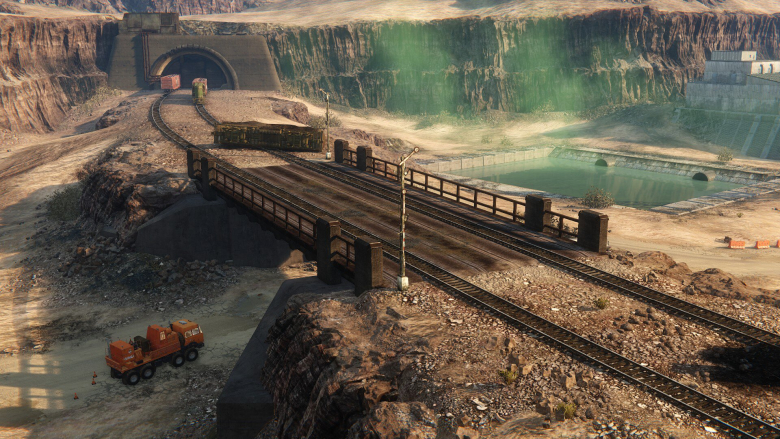
The map is divided into two halves by elevated railroad tracks. The middle of the map can be crossed by either climbing on top of the ridge with tracks – which is potentially unsafe as it leaves you exposed to fire from almost all sides – or by passing under the railroad bridge that is located to the east of the tracks. Crossing the tracks under the bridge potentially provides more cover, but the Underpass also forms a natural chokepoint and careless vehicles could find themselves in an intensive crossfire.
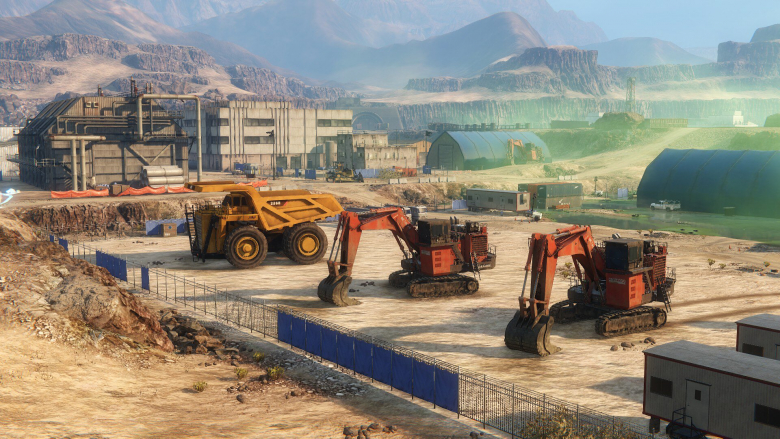
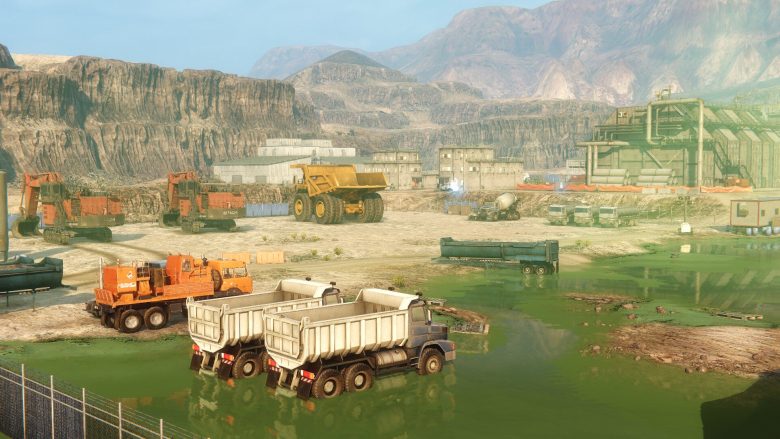
The northern part of the map consists of two areas. To the west is the open Vehicle Pool with heavy machinery and hangars. This area is generally open and does not provide a lot of cover unlike the north-eastern part of the map, the Administrative Area.
The Administrative Area is a cluster of buildings serving as the plant's command center. Large concrete buildings allow you to hide effectively and provide plenty of cover against sniping.
The map provides two distinctive sniper positions on the edges of the map – east of the Factory Area and west of the Vehicle Pool. Both are elevated and can be used to effectively control the relevant half of the map, but they also leave vehicles exposed – not many shrubs grow on the arid land soaked with chemical spills.
Light and fast vehicles can use the central ridge for quick scouting raids that – if timed properly – can completely throw enemy attacks off balance.
The Chemical Plant Map as a whole provides plenty of opportunities for fast-paced action, daring flanking maneuvers and tactical gameplay.
We hope you enjoy it and we'll see you on the battlefield!