As the third decade of the 21st century came to an end, the beleaguered, weakened nations of Europe were fighting over the last remnants of fossil fuels and any functional nuclear reactor – no matter how obsolete – became a strategic asset in their desperate attempts to keep the populace warm during the cold winters. Any such working facility, unfortunately, also became a hotspot with multiple sides laying claims to the rights to operate it as they see fit, and drew the attention of various terrorist forces and insurgencies that rightfully considered them prime targets for their activities – whoever controlled a nuclear power plant controlled the entire region and the loss of even one of these precious facilities could bring an entire country to its knees.
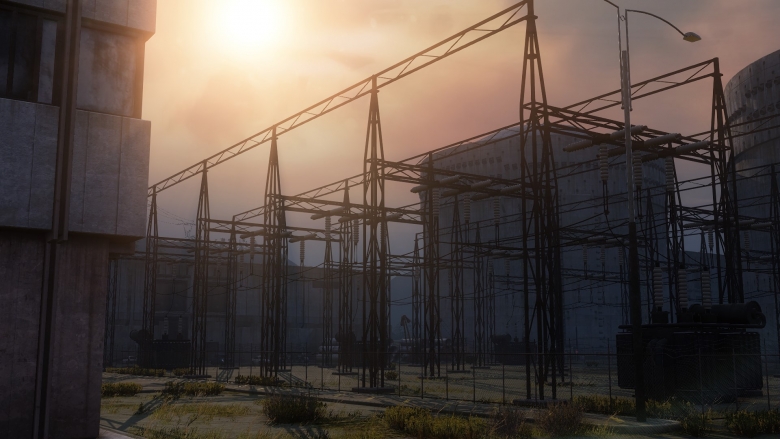
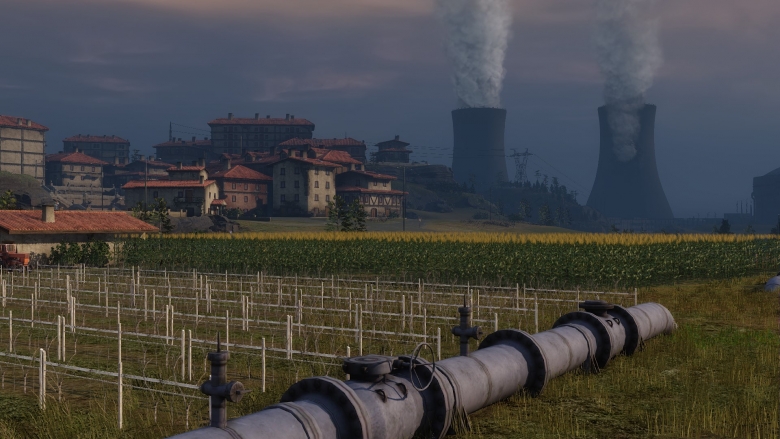
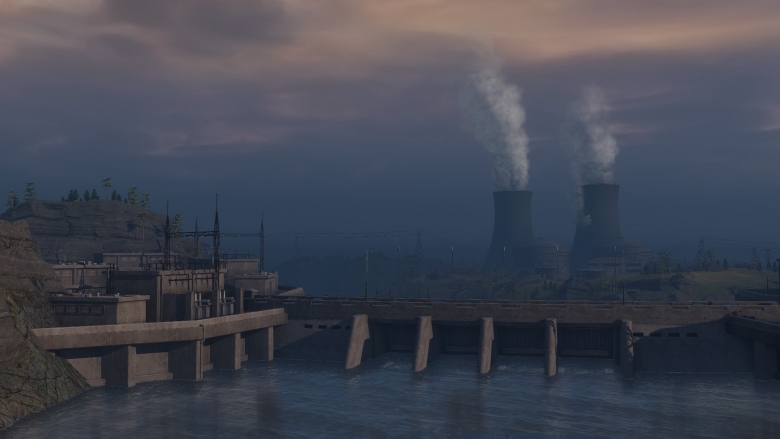
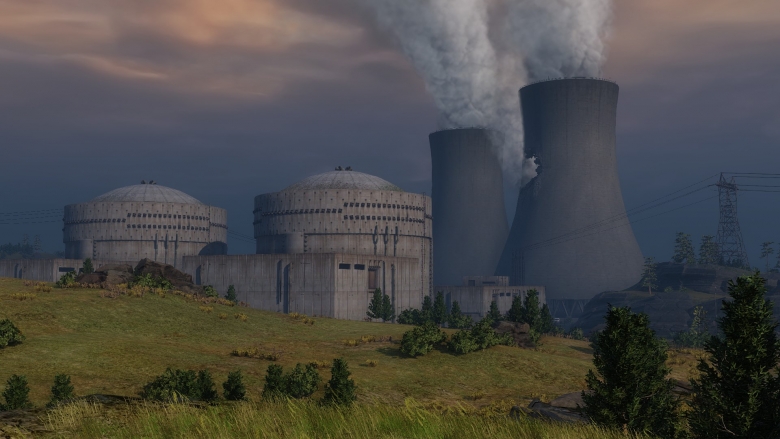
One such event is taking place right now in northern Spain where an old but functional nuclear power plant has been attacked by an unknown number of enemy assailants. Aerial reconnaissance confirms the presence of heavy armor. A battle took place between the attackers and local military forces that were driven off, but during the skirmish one of the cooling towers was heavily damaged and the plant’s beating nuclear heart is now on the verge of collapsing. The facility must be recaptured immediately and the meltdown must be prevented – failure is not an option. An operator team is standing by to shut the reactor down as soon as the control center is secured.

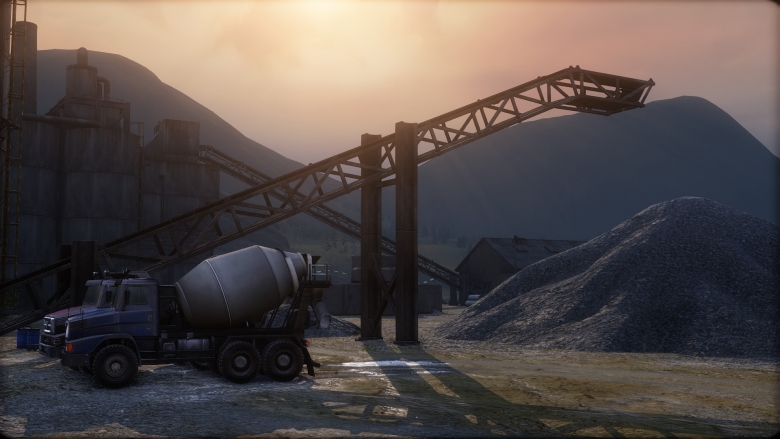
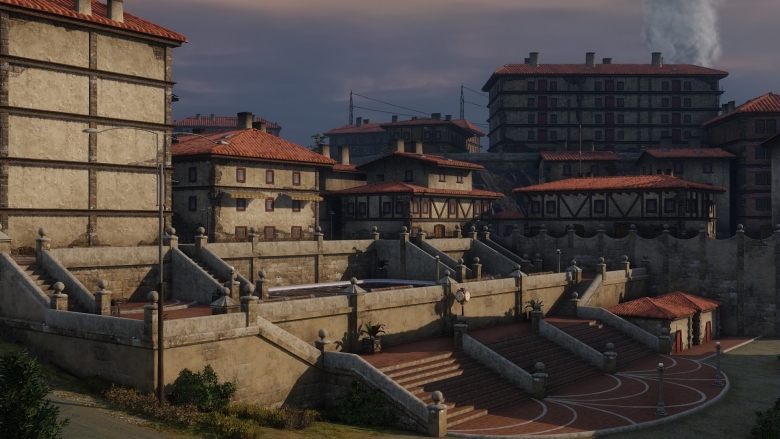
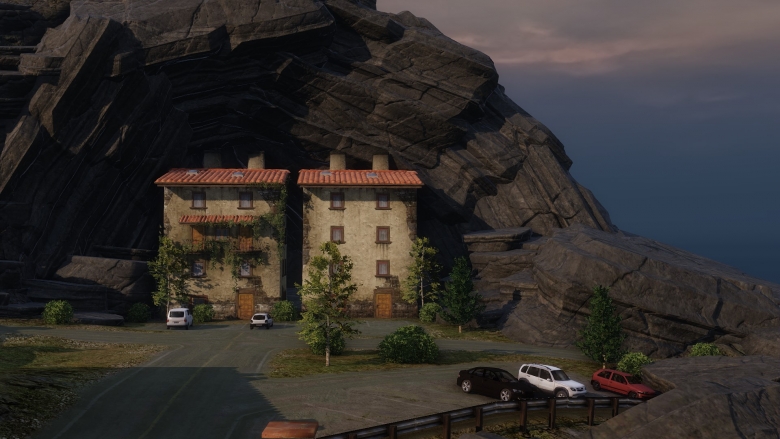
The plant sits along the coast featuring a mixture of rugged terrain and rolling hills which are densely populated with foliage. Most of the conflict exists within the rolling countryside, but the more densely populated plant and small rural locations provide an option for those who choose close range combat.
The red area represents the most open but also the most dangerous venue of approach. It is mostly exposed and suitable for speedier vehicles, but MBTs would find themselves under artillery and long range fire without much means to protect themselves. Brave or reckless commanders may attempt to dash over the dam to surprise the enemy.
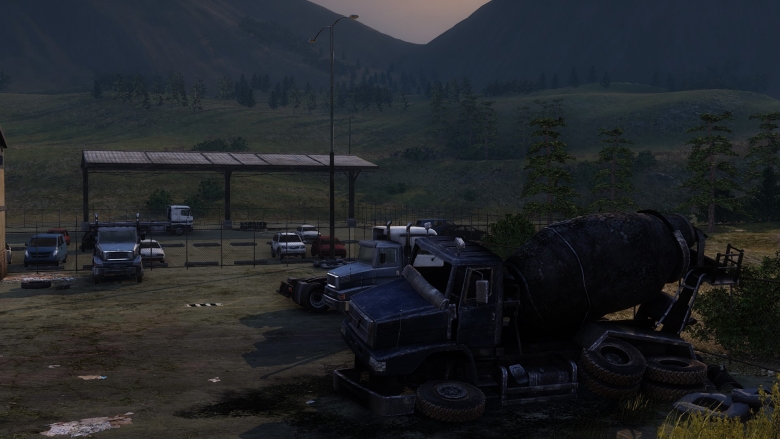
The green area can be used for flanking maneuvers as well – it provides more cover than the red area thanks to the presence of several buildings in the depot. Unfortunately, this area is quite vulnerable as crossfire can be laid down from the red approach. Forces advancing through this part of the map could easily find themselves outflanked.
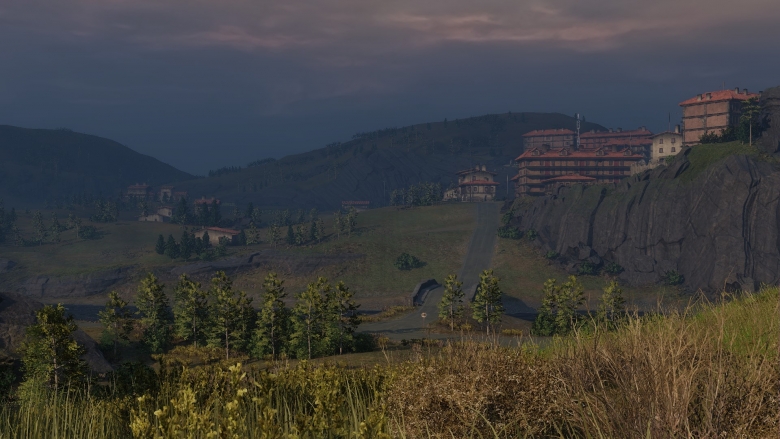
The blue area represents the safest approach but also the slowest – there is a lot of cover for MBTs to use, but even this area can also come under crossfire if an unwary commander leaves the central area undefended.