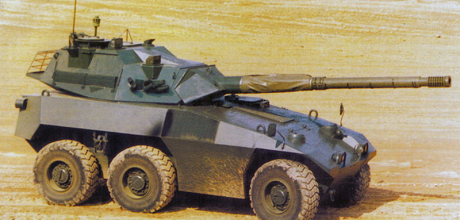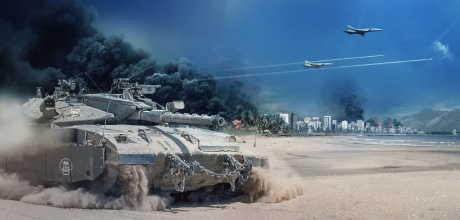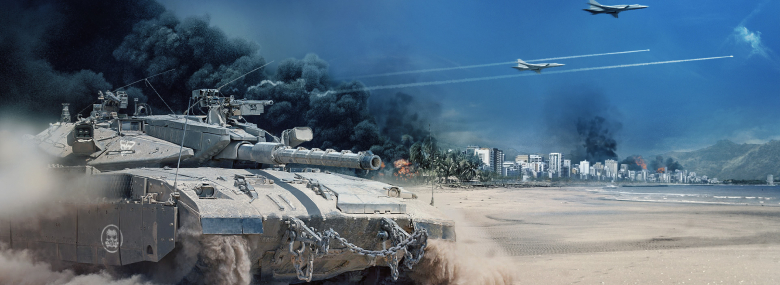
Commanders!
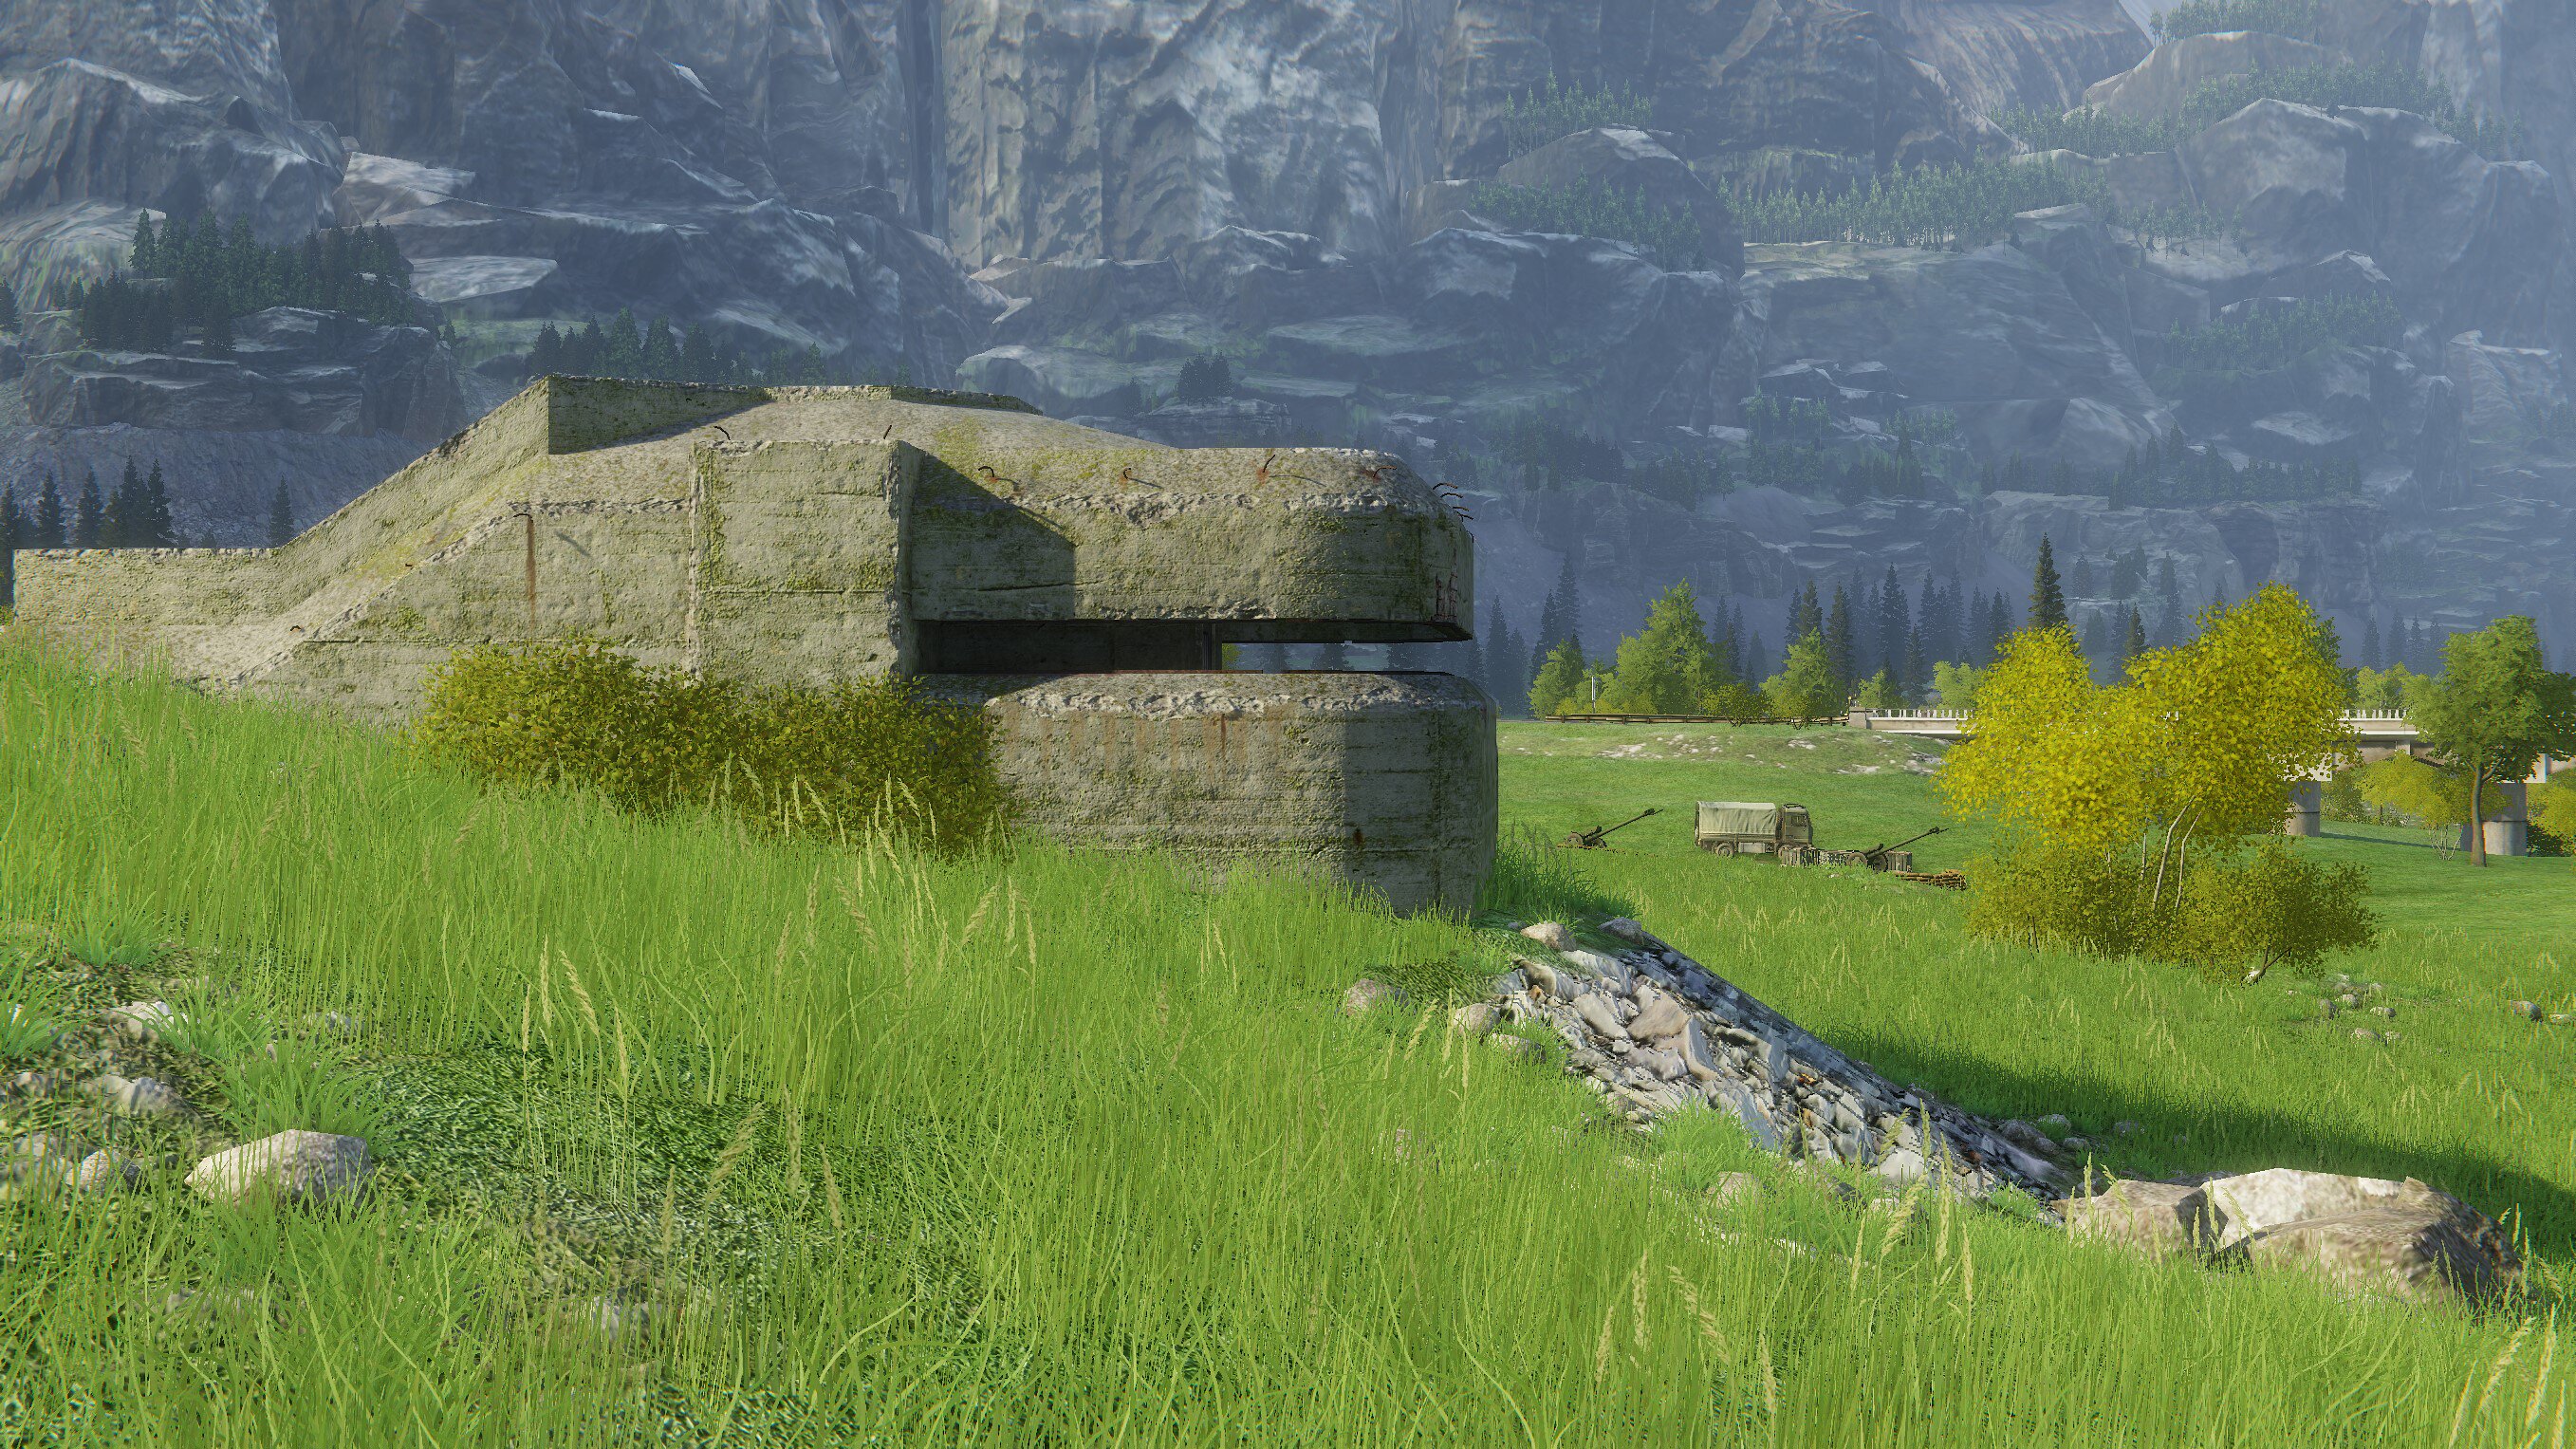
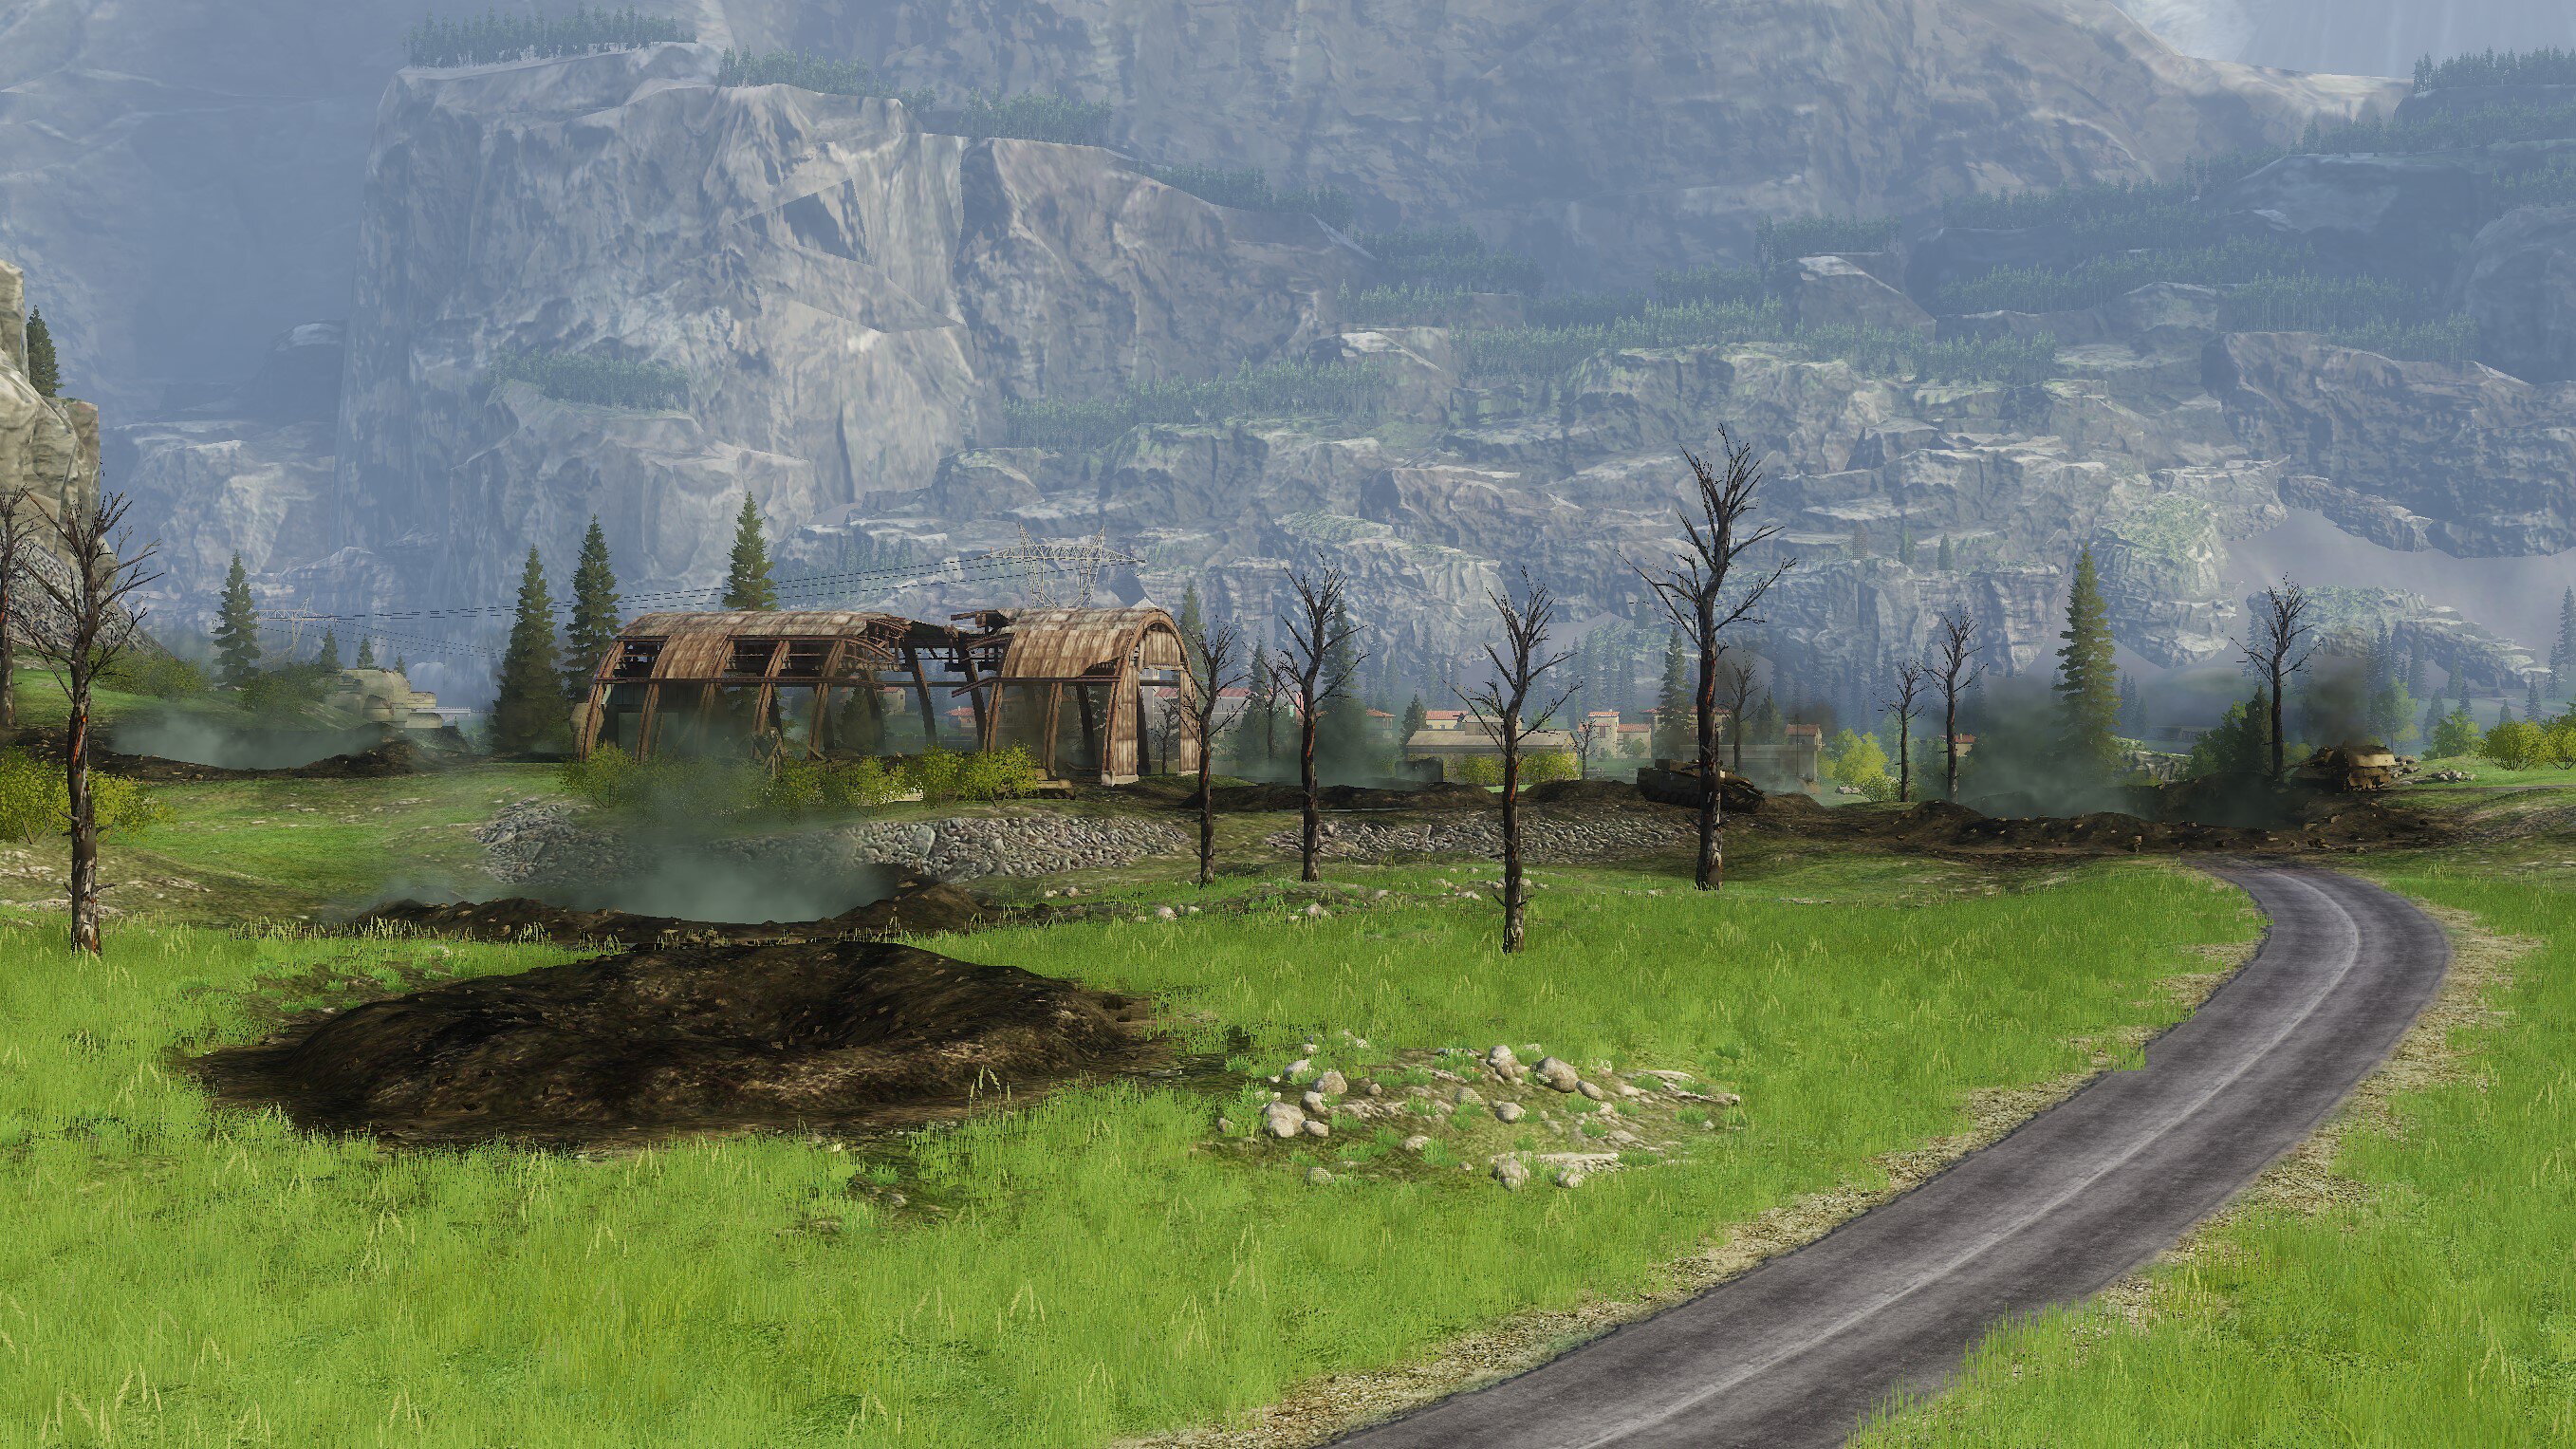
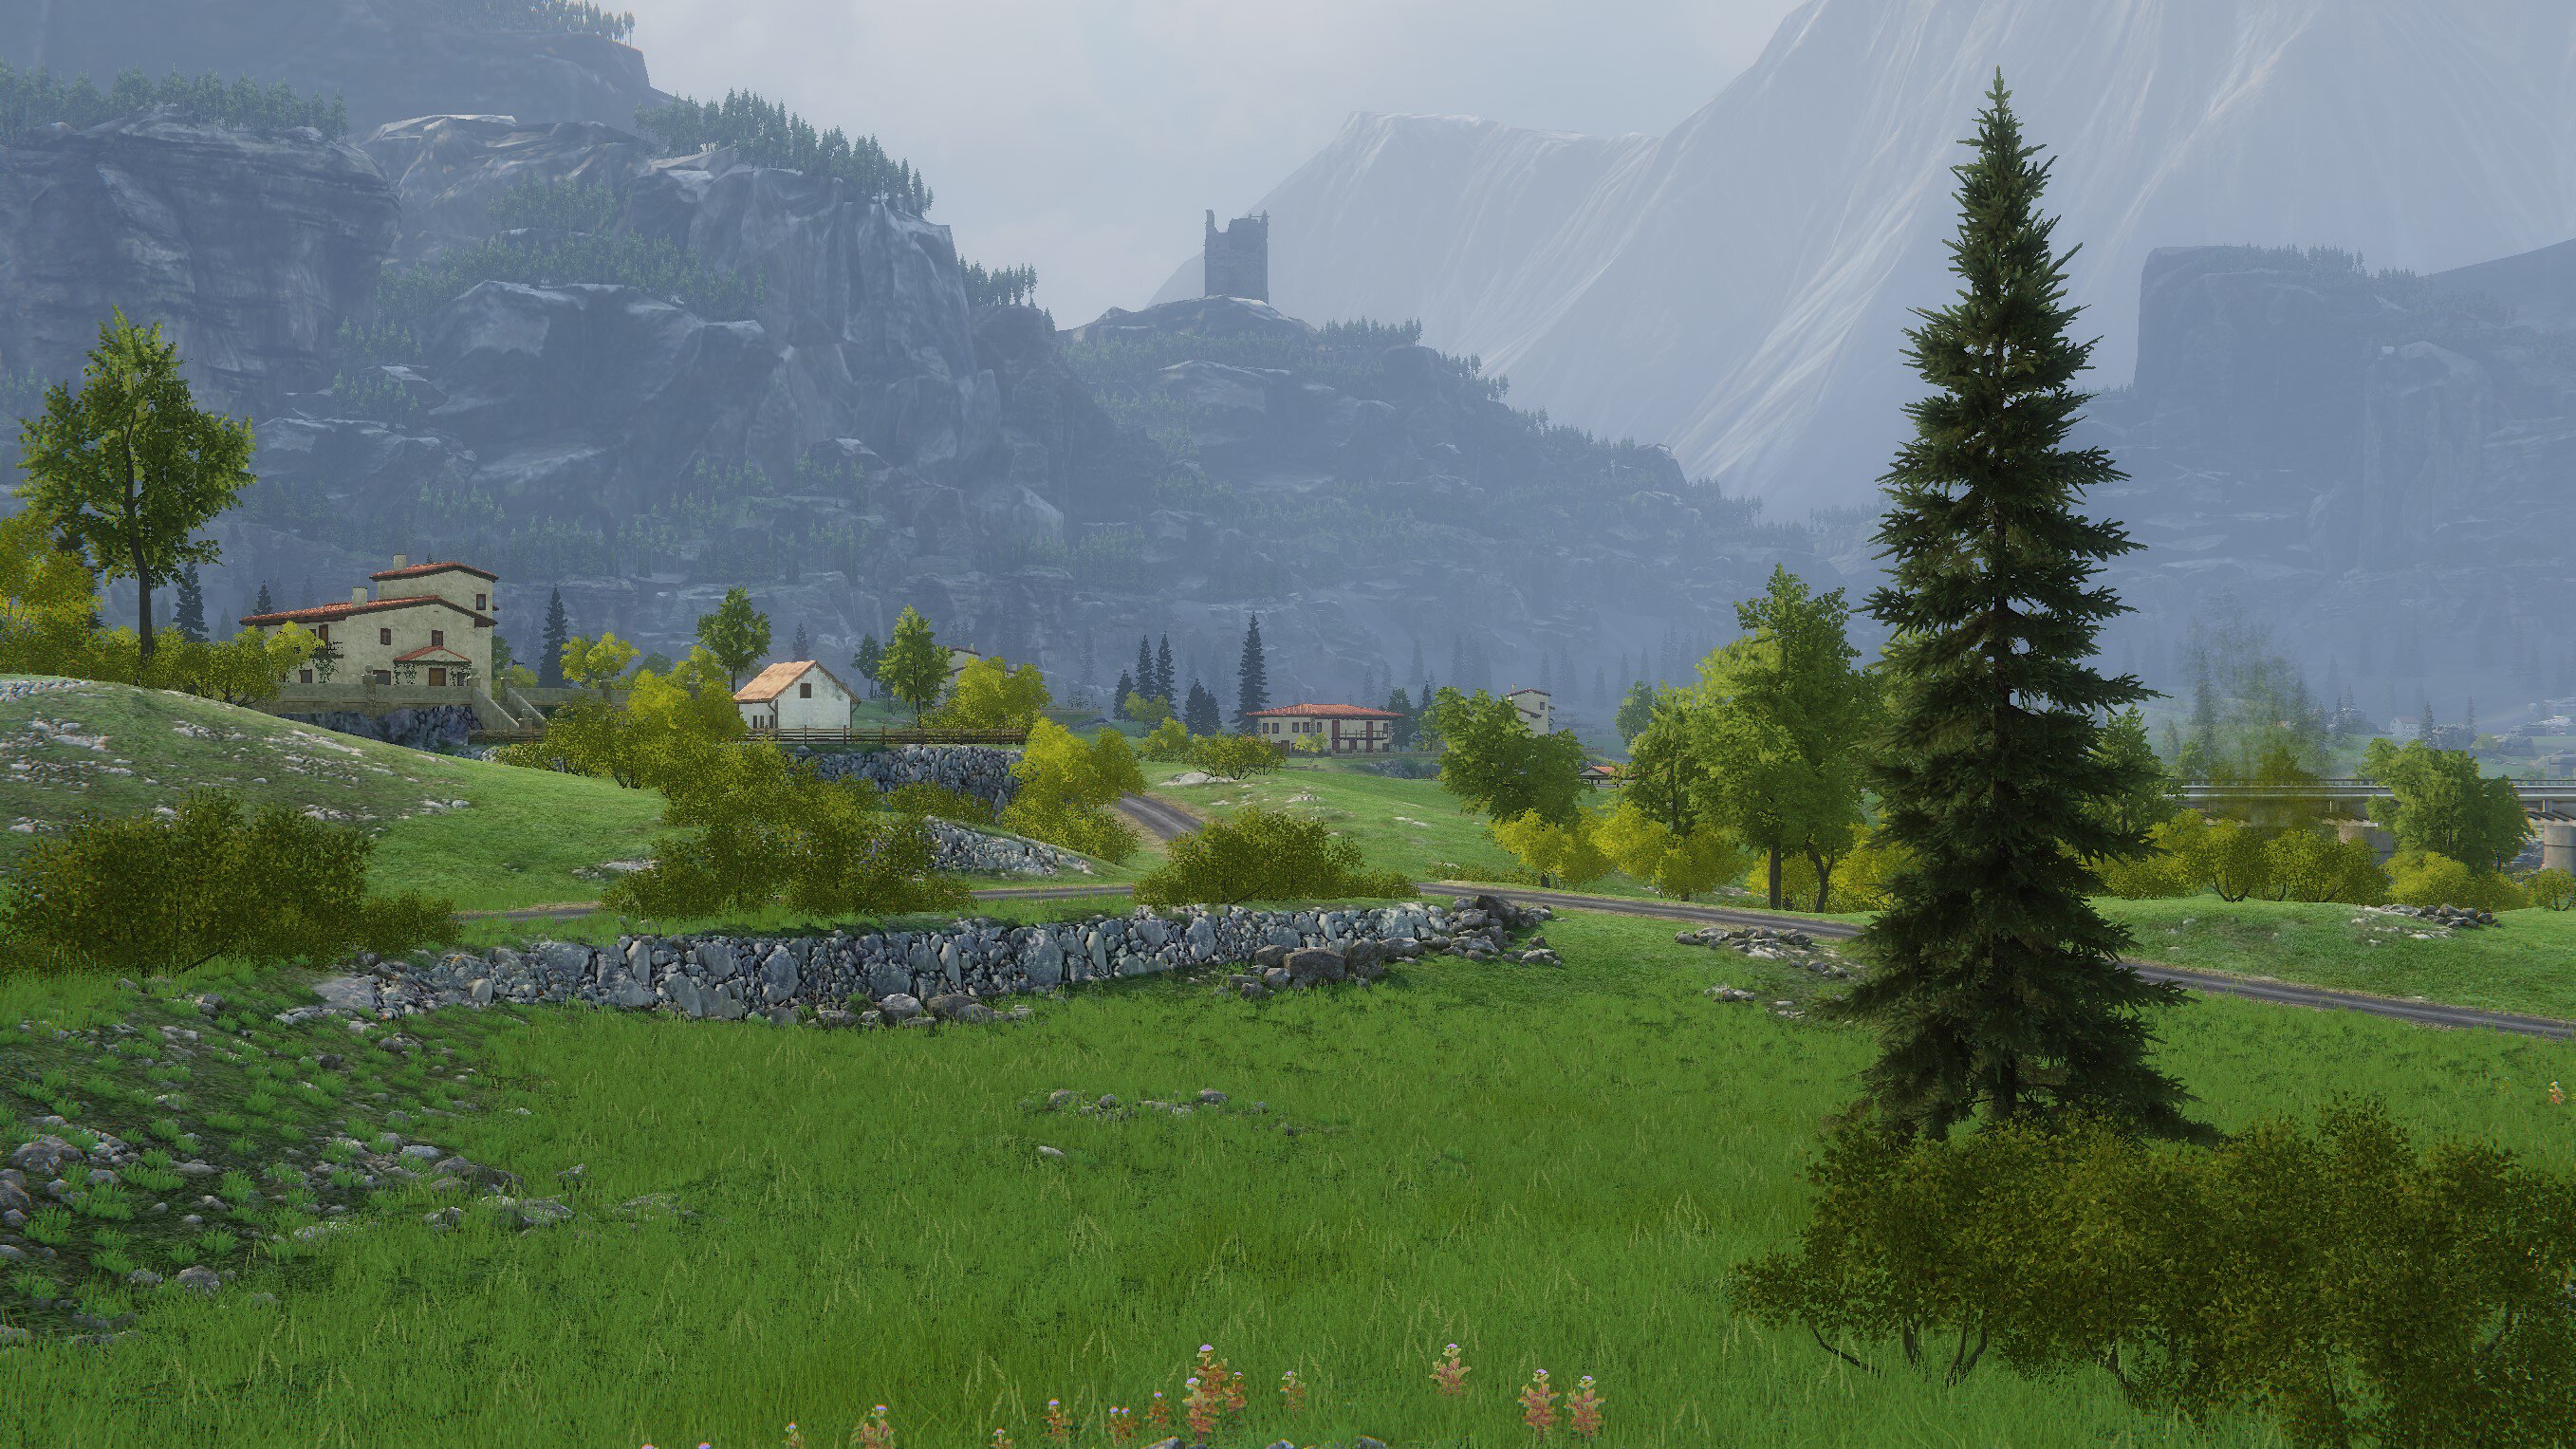
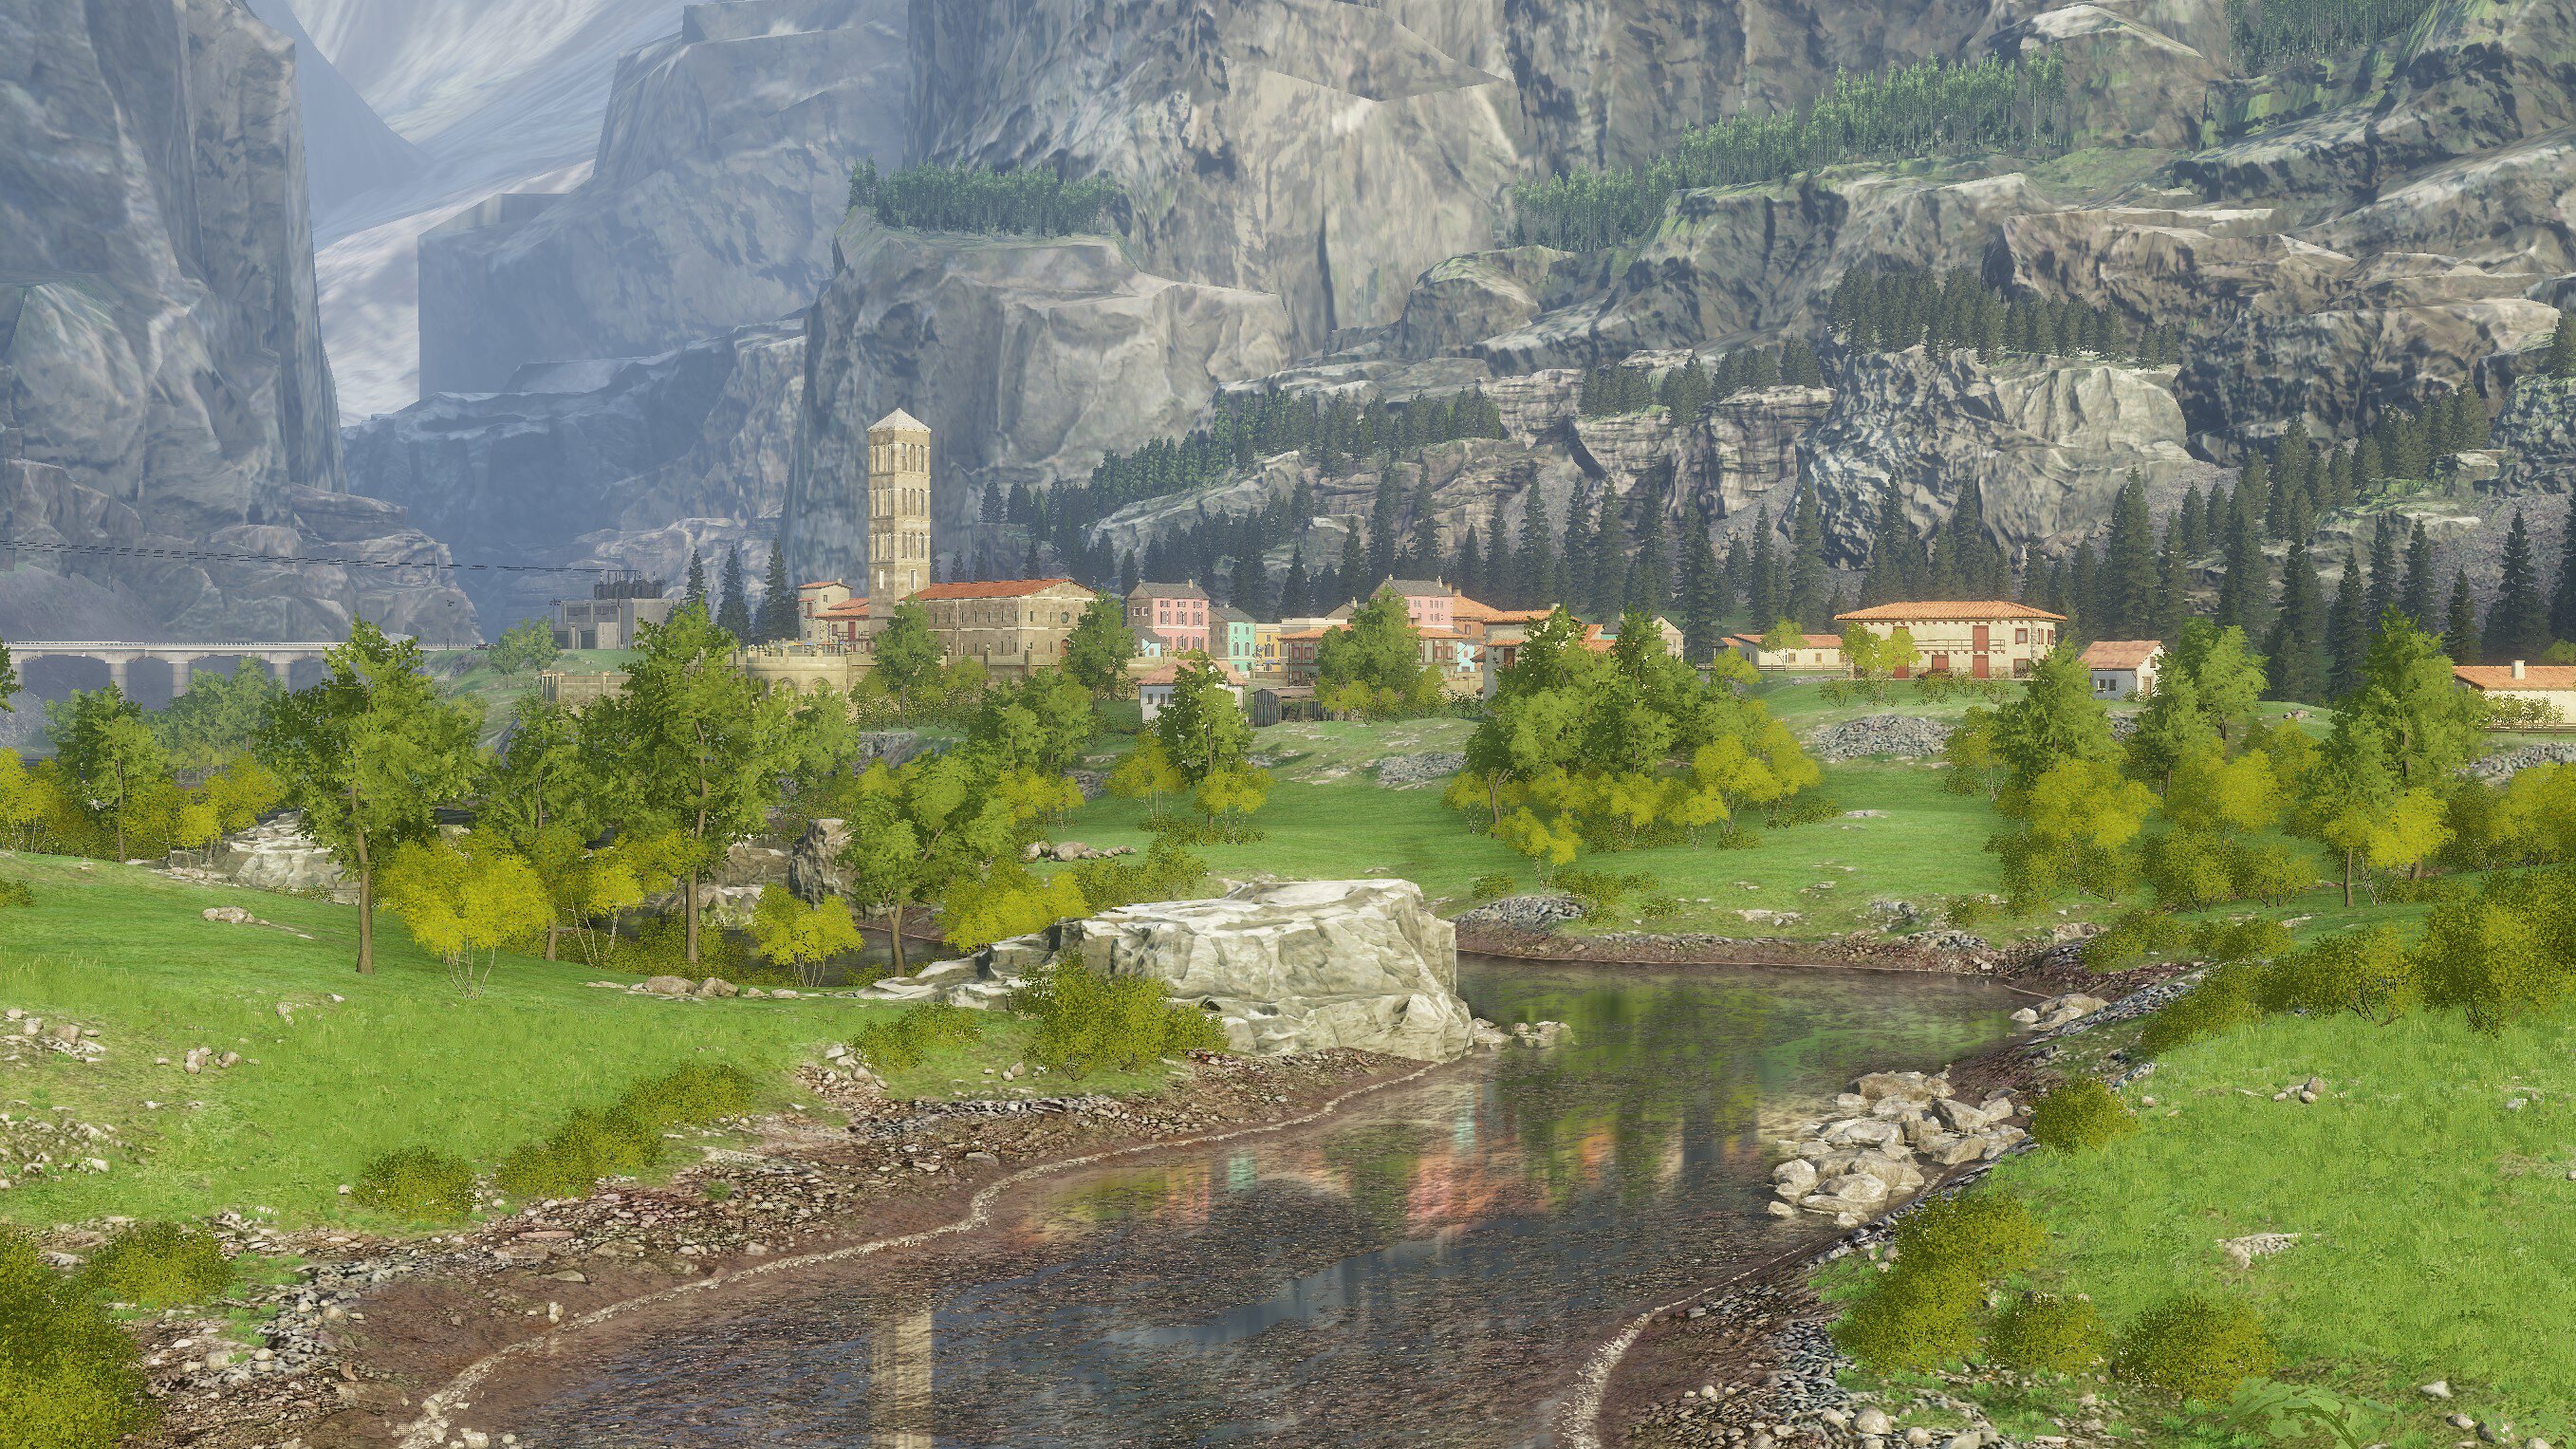
Narrow gorges of Switzerland, surrounded by titanic mountains, are perhaps not the best terrain for armored vehicle operations, but warriors go where they are needed, regardless of whether they fight out of sense of duty or for cold, hard cash. War has come to this alpine valley and it’s your task to root out the enemy and control this strategic location for your client.
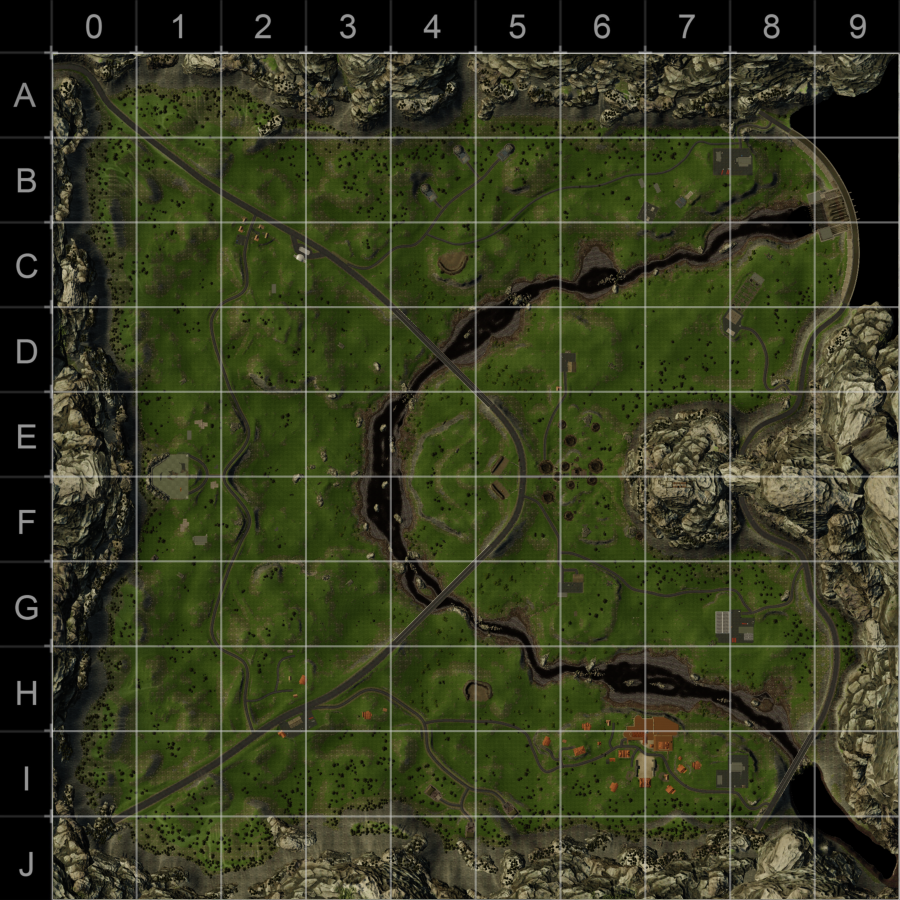
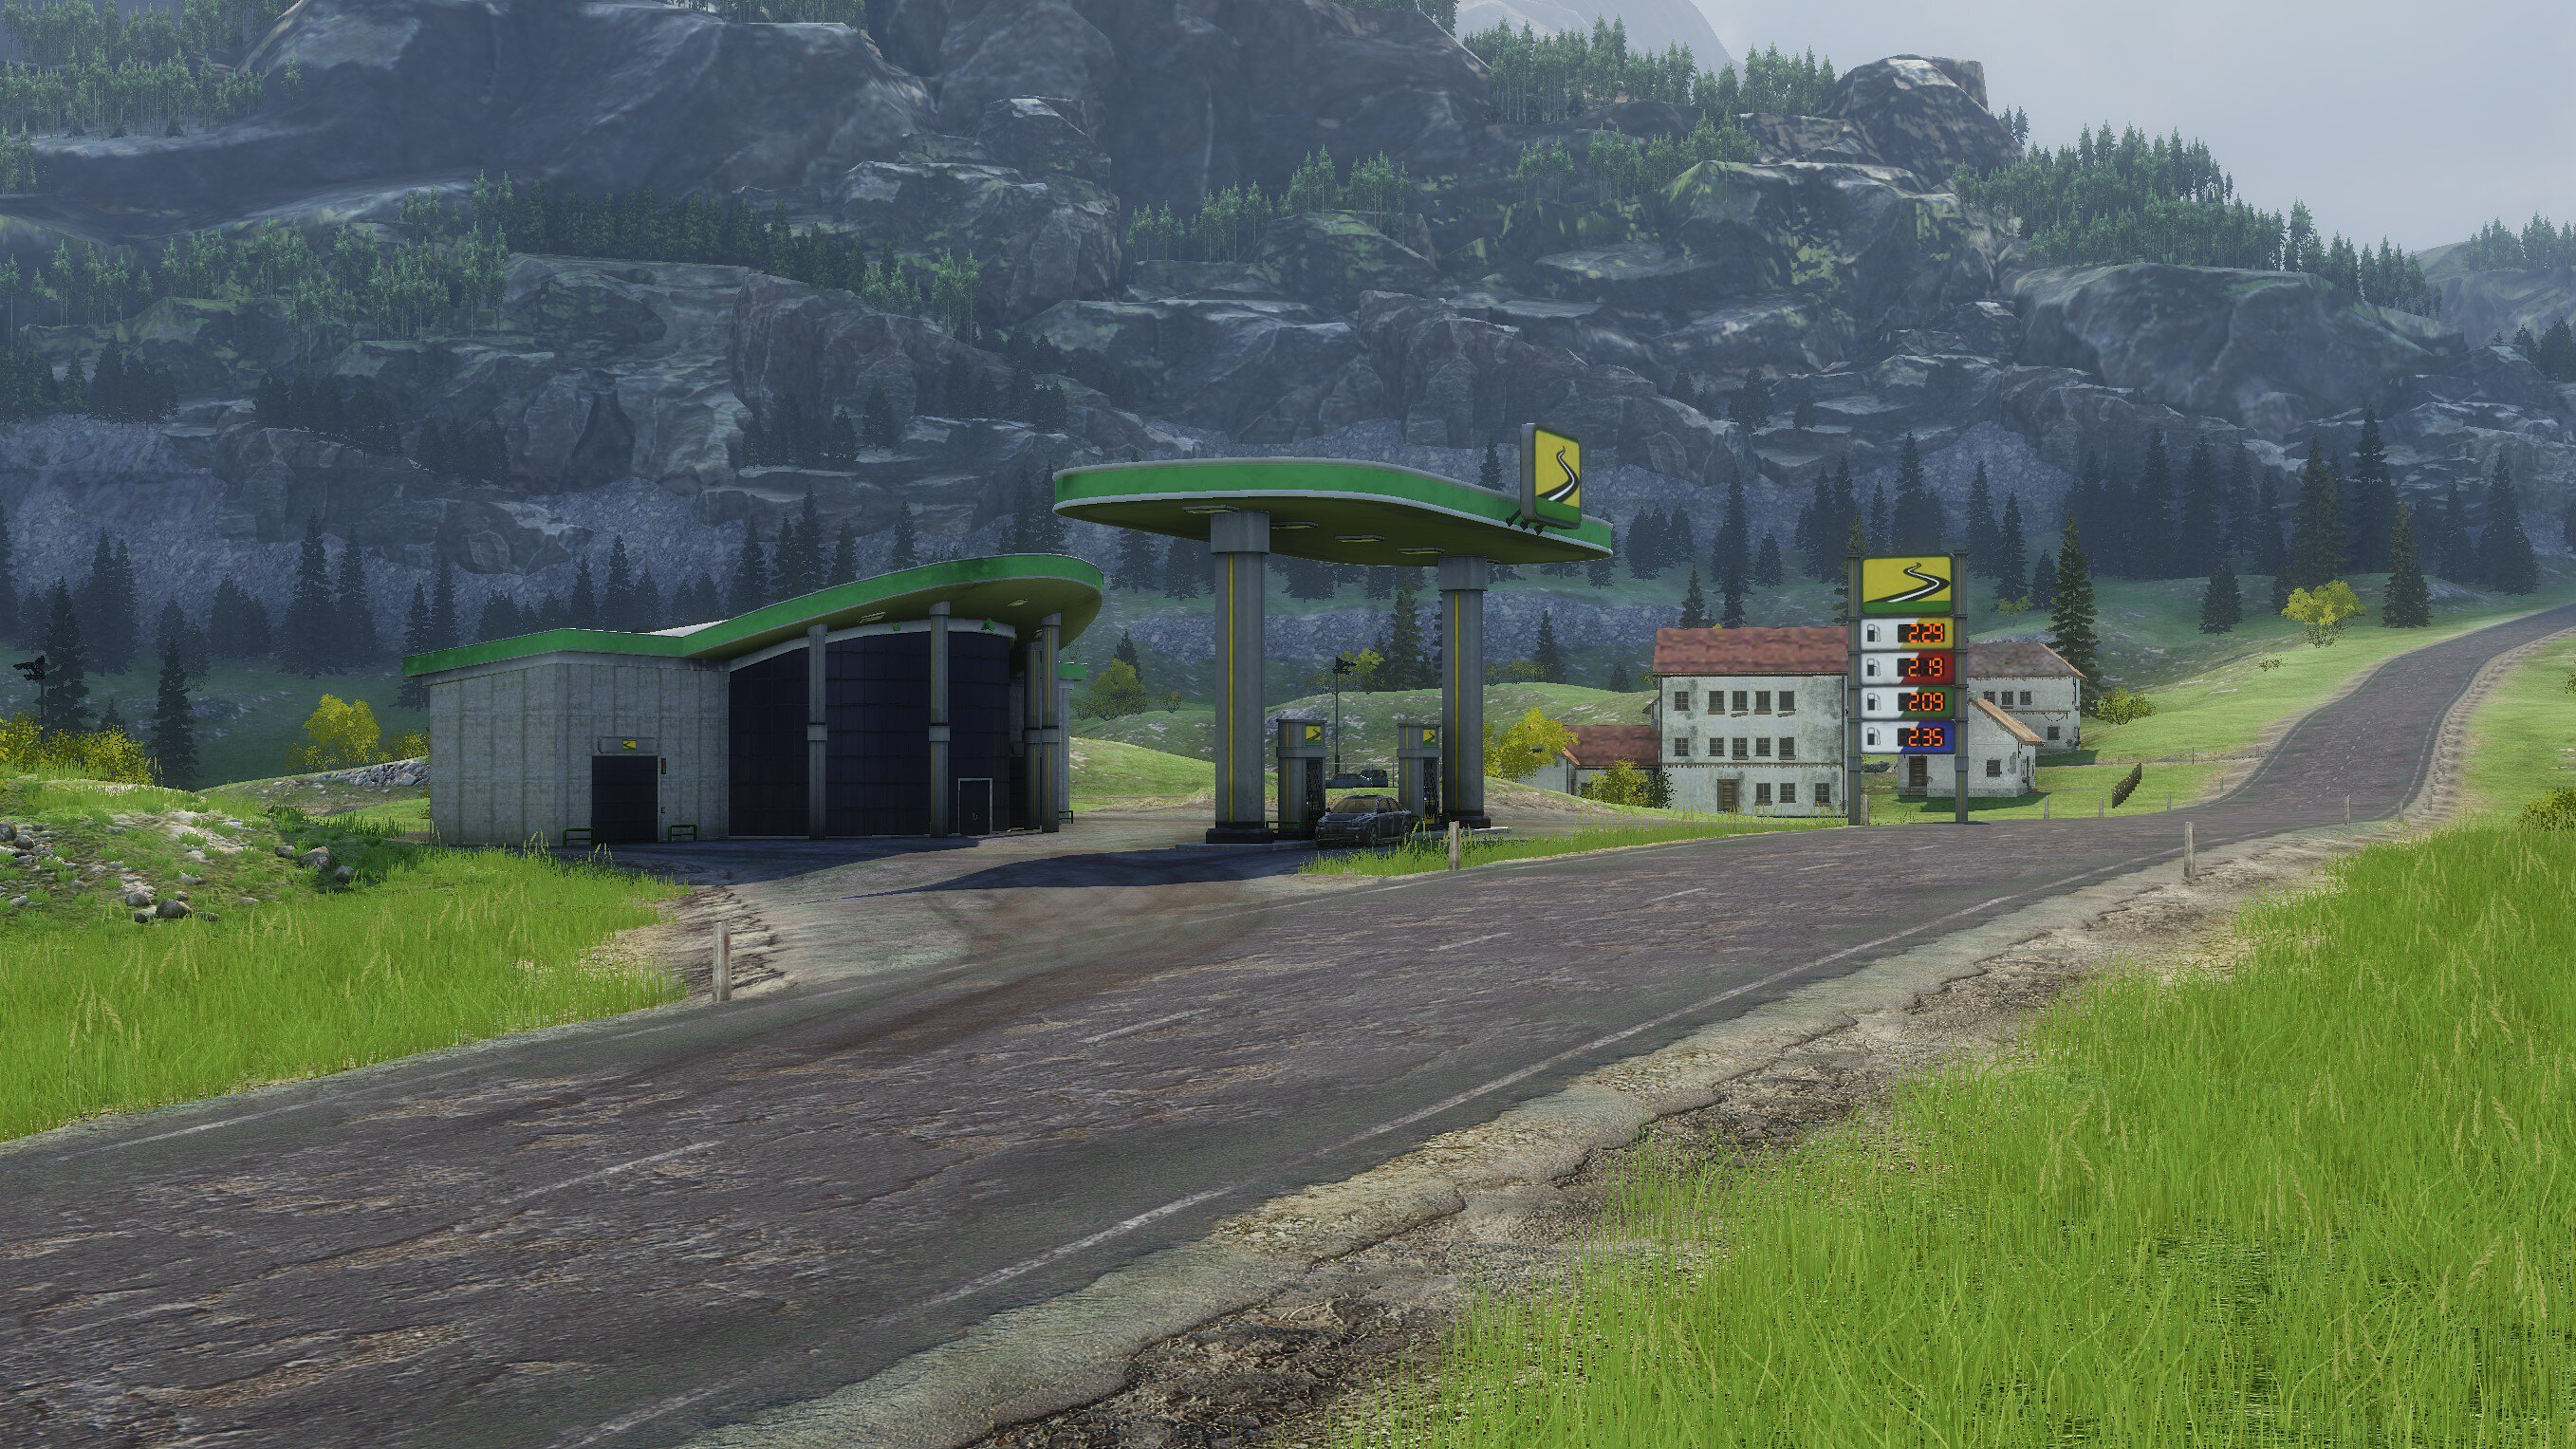
The Alpine Valley Global Operations map from Update 0.24 “Caribbean Crisis – Part II” is the newest addition to the battlefields of Armored Warfare. It is a very large, open map full of rolling hills – there is plenty of cover, but well-positioned vehicles can fire over extremely long distances, making it very important to carefully plan your moves ahead. A wild mountain river cuts across the map, separating it into two different areas – whichever you choose, however, be careful – one wrong step and the enemy will have you in his sights.
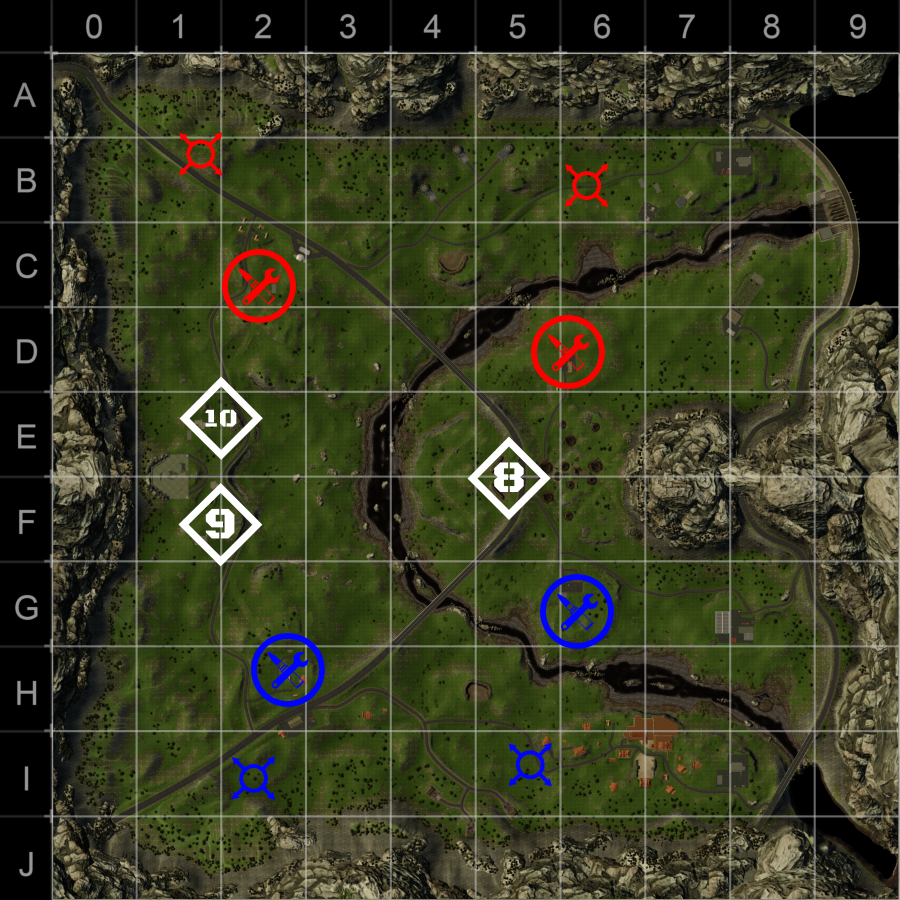
A Global Operations battle on the Alpine Valley map lasts for 15 minutes with each side having 3000 points. There are three phases – Phase 2 starts when the point count on either side reaches 2000 points, Phase 3 starts when it reaches 1000 points.
Phases
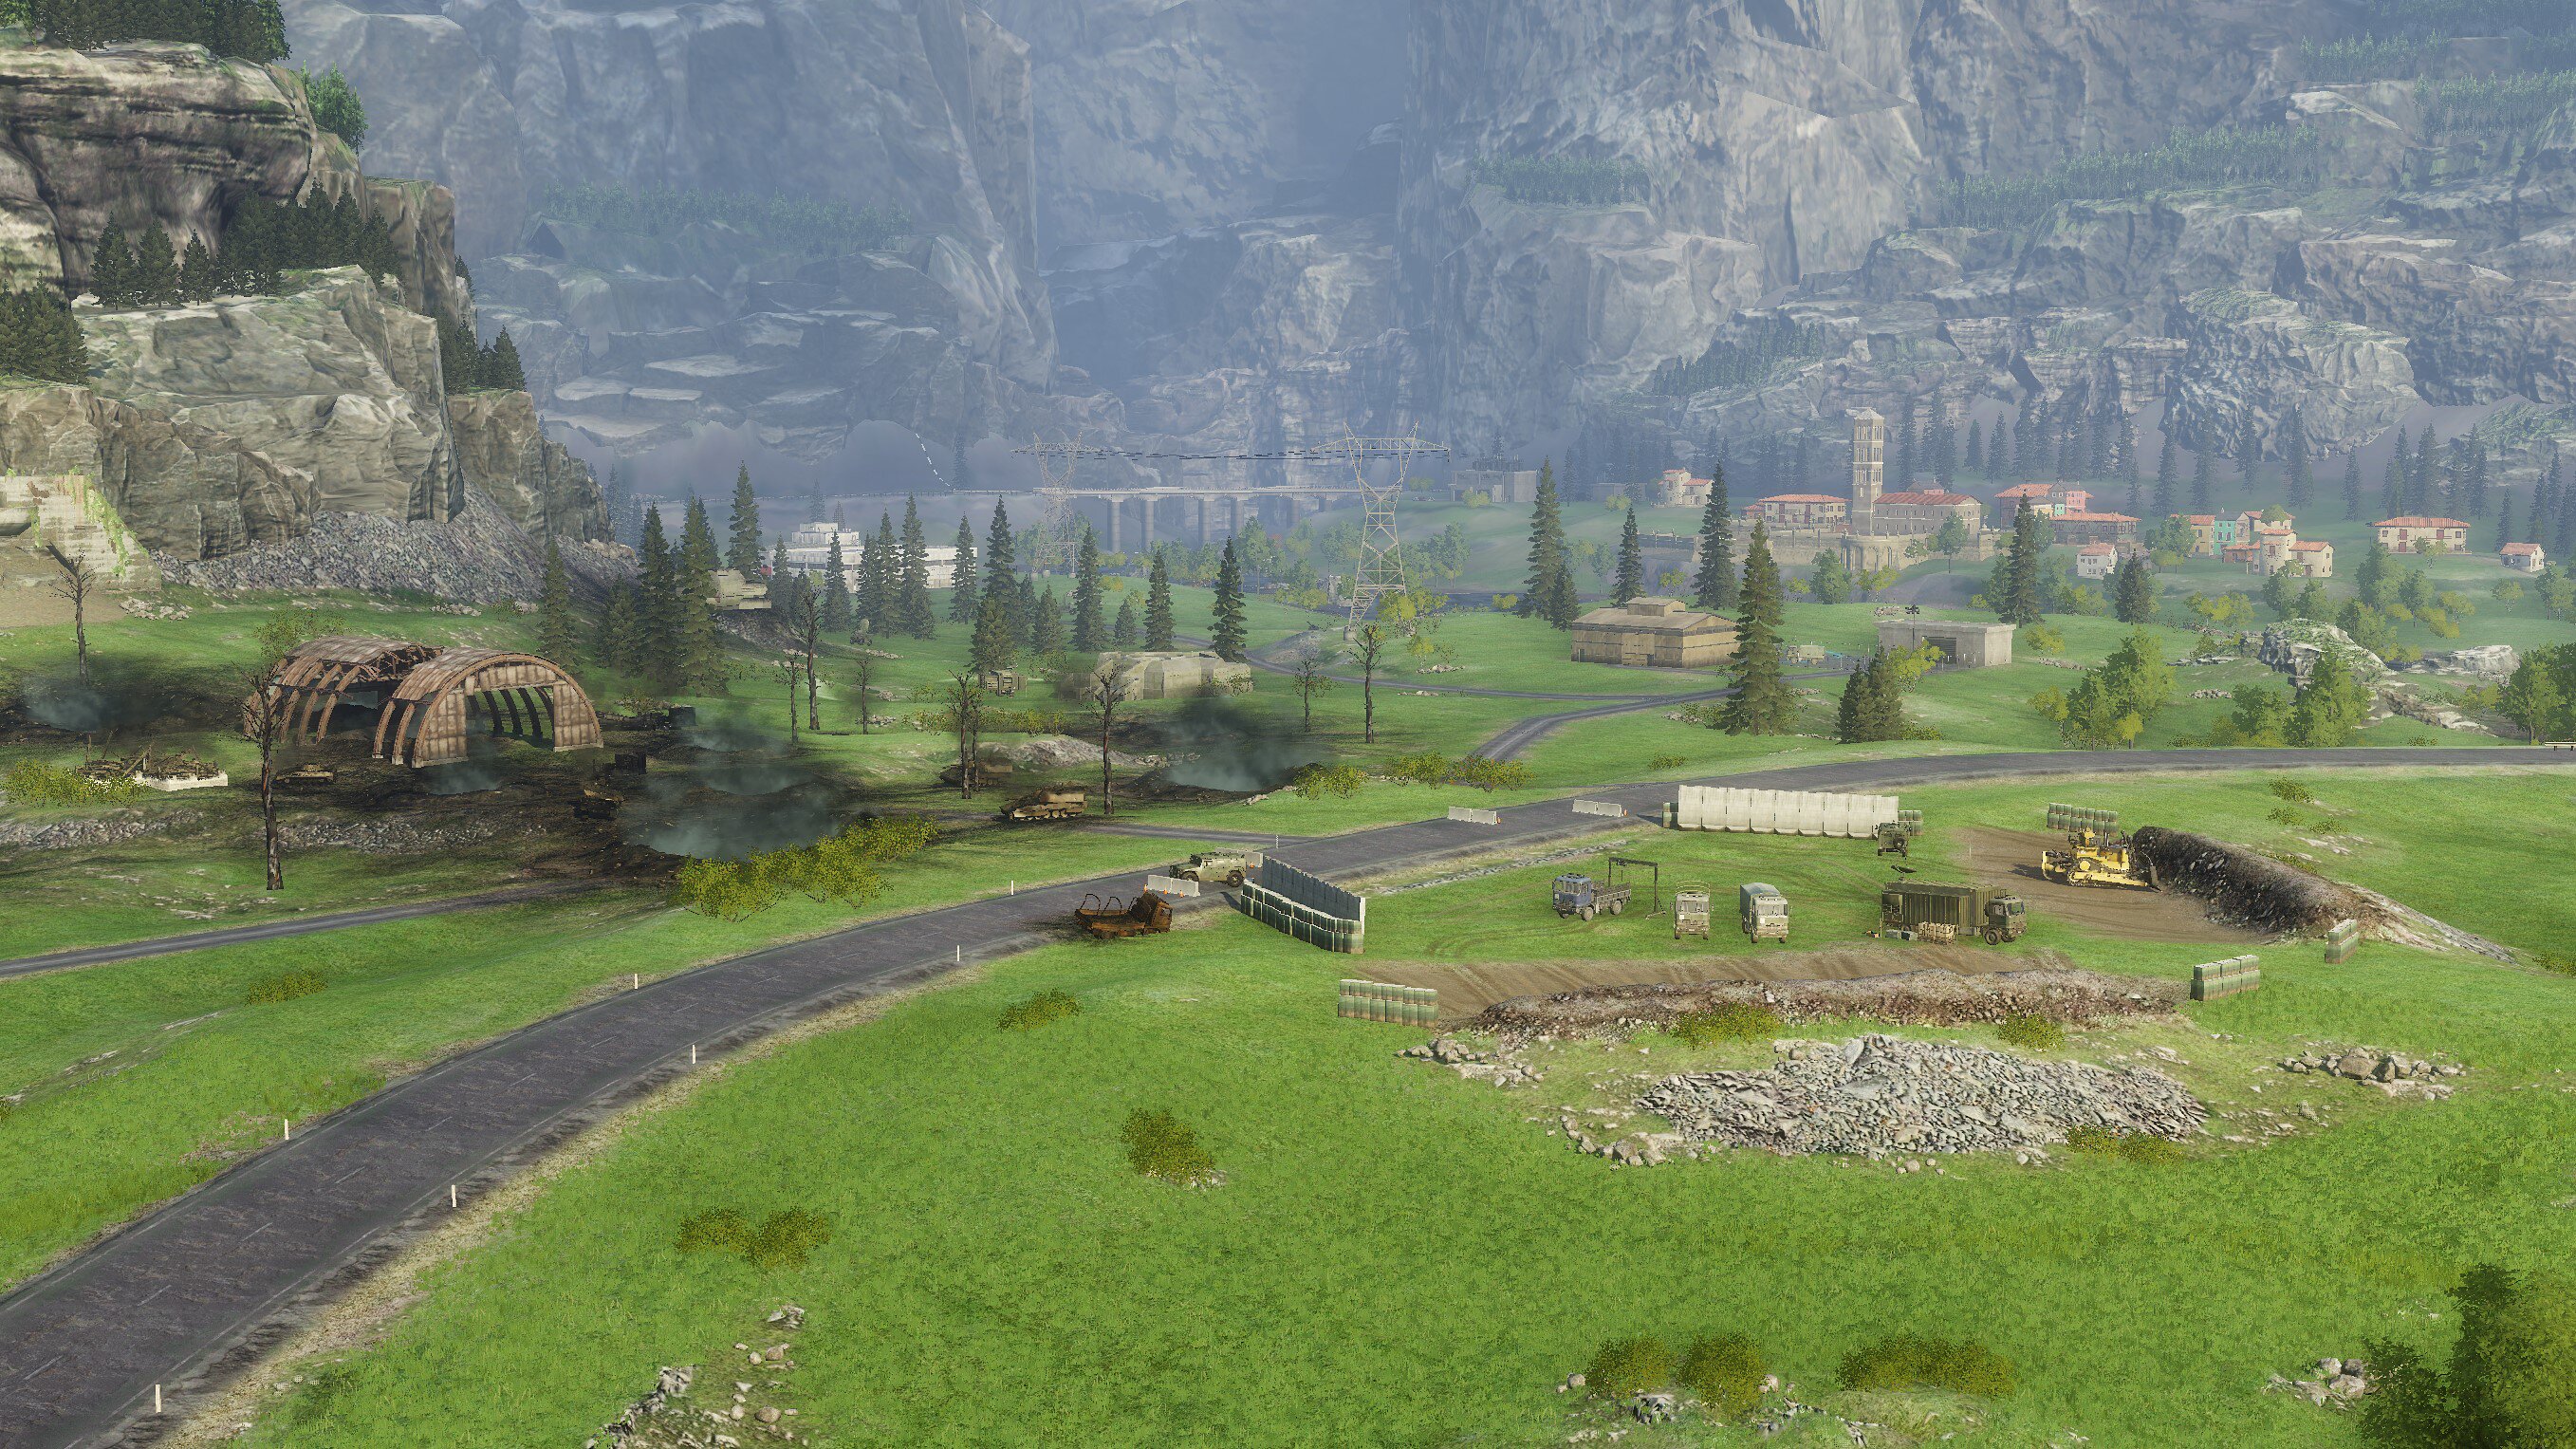
In Phase 1, there are three bases to capture. On the western side of the map, there’s an abandoned military base waiting to be occupied by new owners. It’s an elevated spot that allows whoever controls it to control the western half of the middle of the map – this makes the spot suitable for Tank Destroyers and other long-range vehicles. On the eastern side, two bunkers are awaiting recapture in a gully – expect brutal close range fighting.
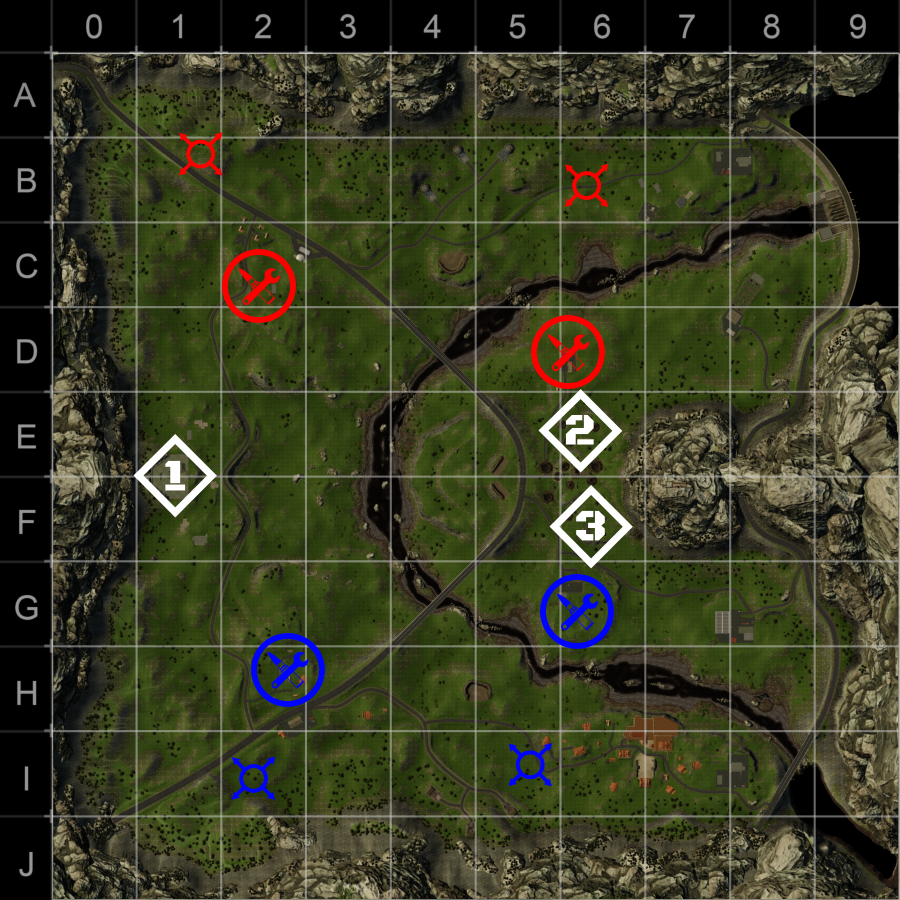
In Phase 2, four industrial and residential strategically placed areas become available for the taking. On the western side, both areas are rather exposed – expect mid- to long-range battles. Even though the military base is no longer an objective, it makes for an excellent vantage point when it comes to firing at or covering of the western objectives. Further to the east, the battle moves even more to the edge of the map with both objectives becoming separated by a ridge – and a tunnel that goes through it. The tunnel is practically immune to any wildcards or indirect fire support, making it an excellent blocking position.
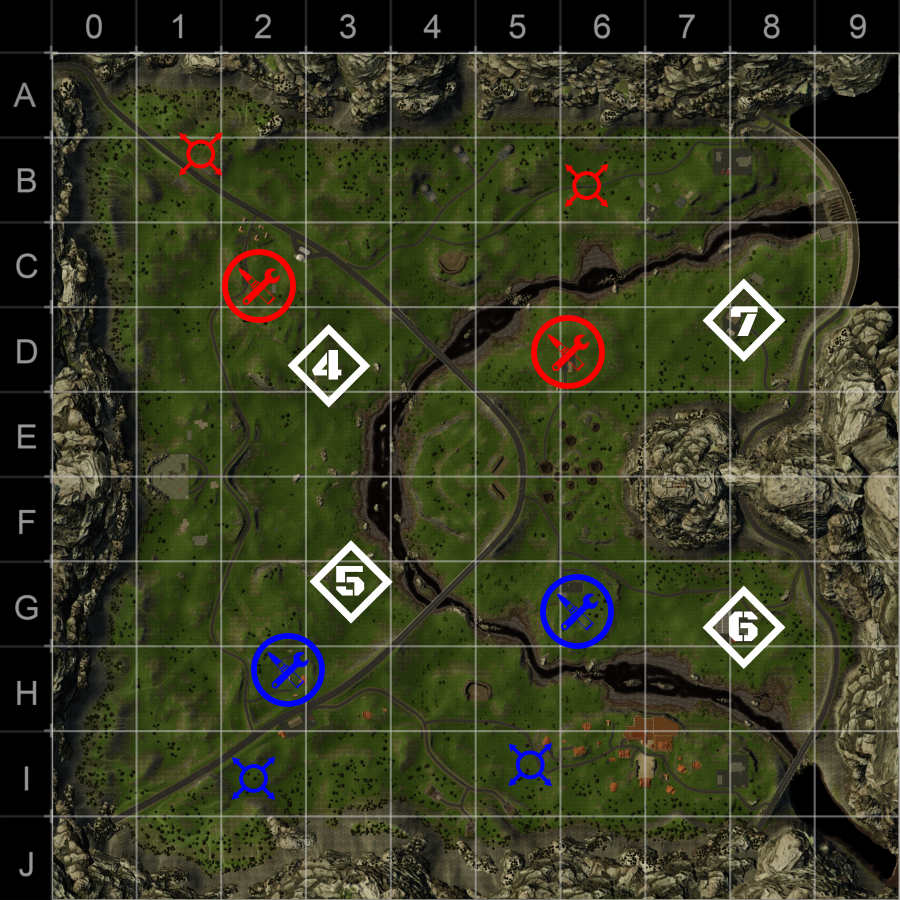
The final Phase 3 moves the battle back to the center of the map again. A roadblock east of the river must be captured, as must the strategic areas in the west near the base. This phase offers even more furious combat that you are already familiar with from Phase 1, allowing the capturing parties to fire at one another with impunity. Vicious fighting takes place even in the open and the long range classes that are attempting to make a difference should stay out of the thickest of it, finding a position to snipe at their enemies.
Wildcards
There are three wildcards available on this map – one you are already familiar with but the remaining two are newly introduced.
Air Strike – a bomber strikes a certain area on the map. This wildcard is especially destructive in the opening phase of the battle and in the final one against clustered enemies trying to fight you for the objectives that are located near one another.
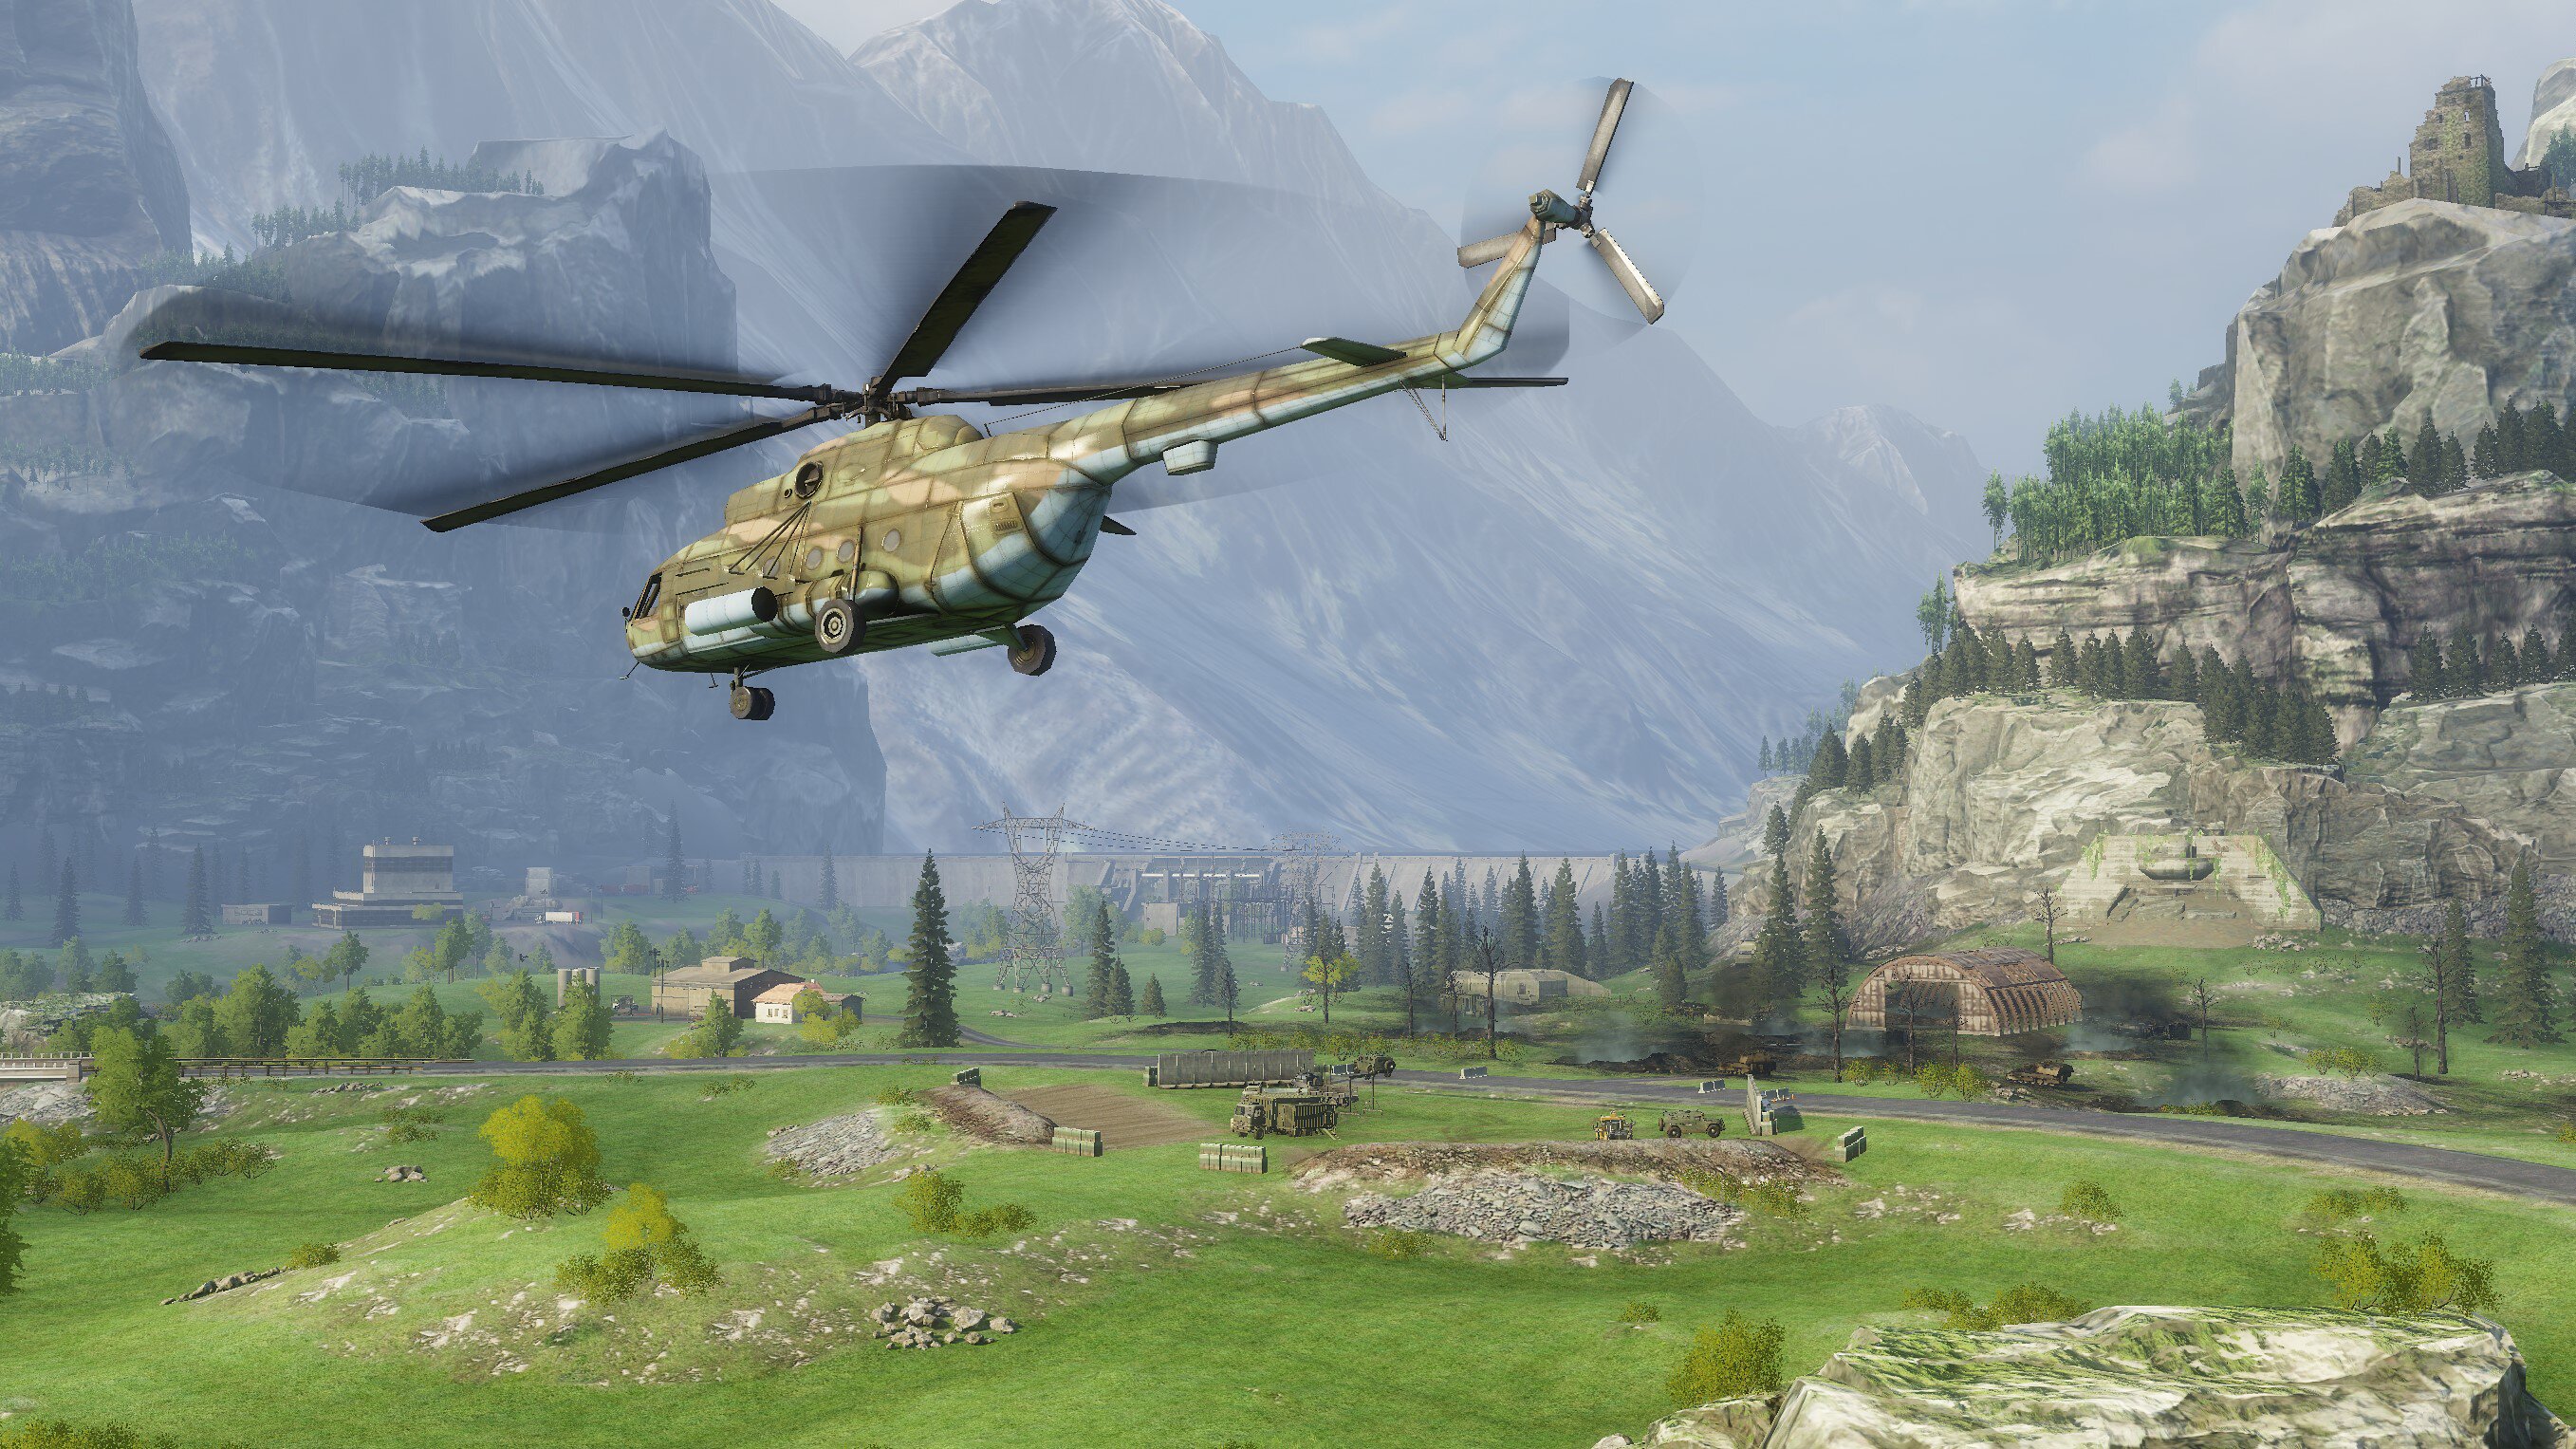
Helicopter Strike – this wildcard summons a helicopter that flies over the map, spotting and firing at the enemies. The helicopter is quite slow and fragile, but it has a very high view range (spots the entire map) and can fire at your enemies. It does not represent a major threat if taken care of quickly, but can become a nasty surprise for unaware commanders. Please note that the helicopter cannot be summoned to a specific area – instead, you need to click on one of the available white helicopter icons on the wildcard activation map. The helicopter then chooses its own path.
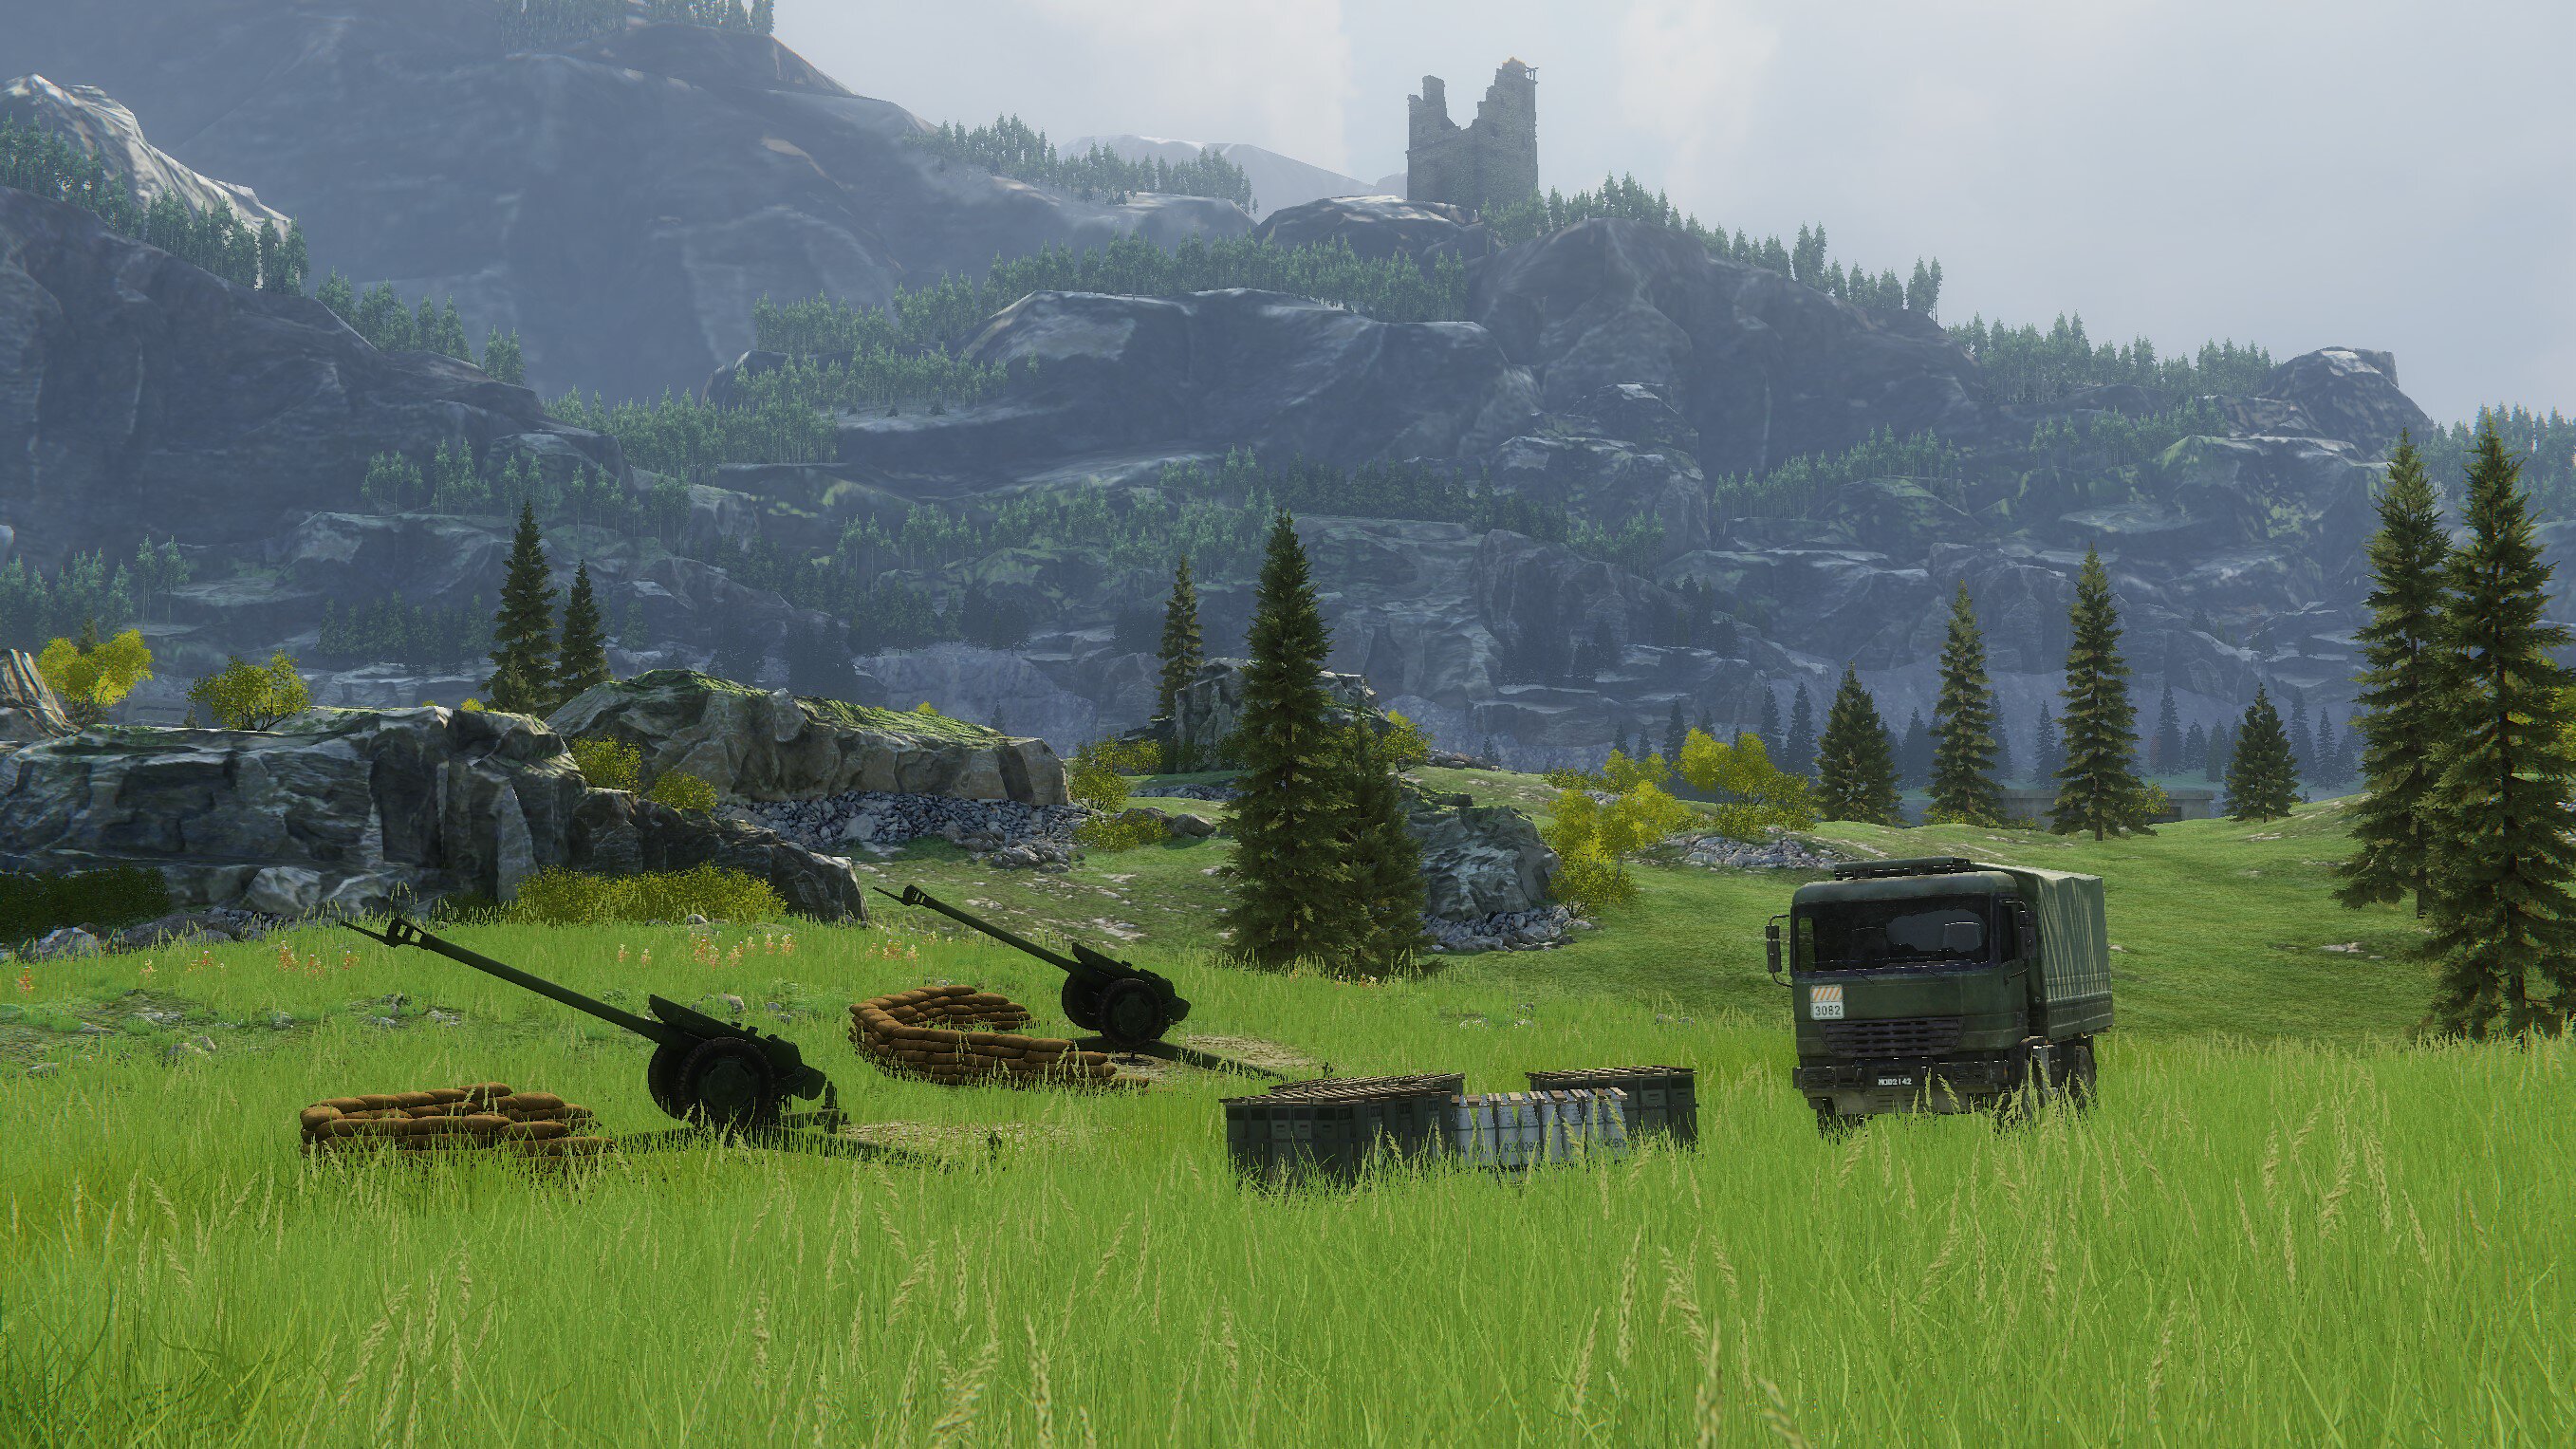
Artillery Strike – this wildcard summons friendly artillery AI vehicles that fire upon spotted enemies. They behave like any player or PvE opponent would – they can only fire at spotted targets and can be destroyed. Their range is also very high and includes enemy artillery vehicles (if the opposing team summons them) – their damage is easy to evade, but they do target capturing enemy vehicles and are very useful in resetting enemy objective capture progress.
In order to activate this wildcard, you need to capture ammunition first (works like any other objective). Once captured, however, the ammunition has to be carried back to your home base for the wildcard to activate. Once you deliver it home, the artillery vehicles will appear and start to shell the enemy. Please note that helicopter strikes can be very useful in taking out enemy artillery.
We hope that you will like this new Global Operations map and will see you on the battlefield!