Commanders!
The new Battle UI, introduced during the Spirithaven season, offers you a wide variety of customization options. Following your feedback, we’ve introduced a number of toggles and settings that allow you to change its appearance. Today, we’re going to take a look at some of them.
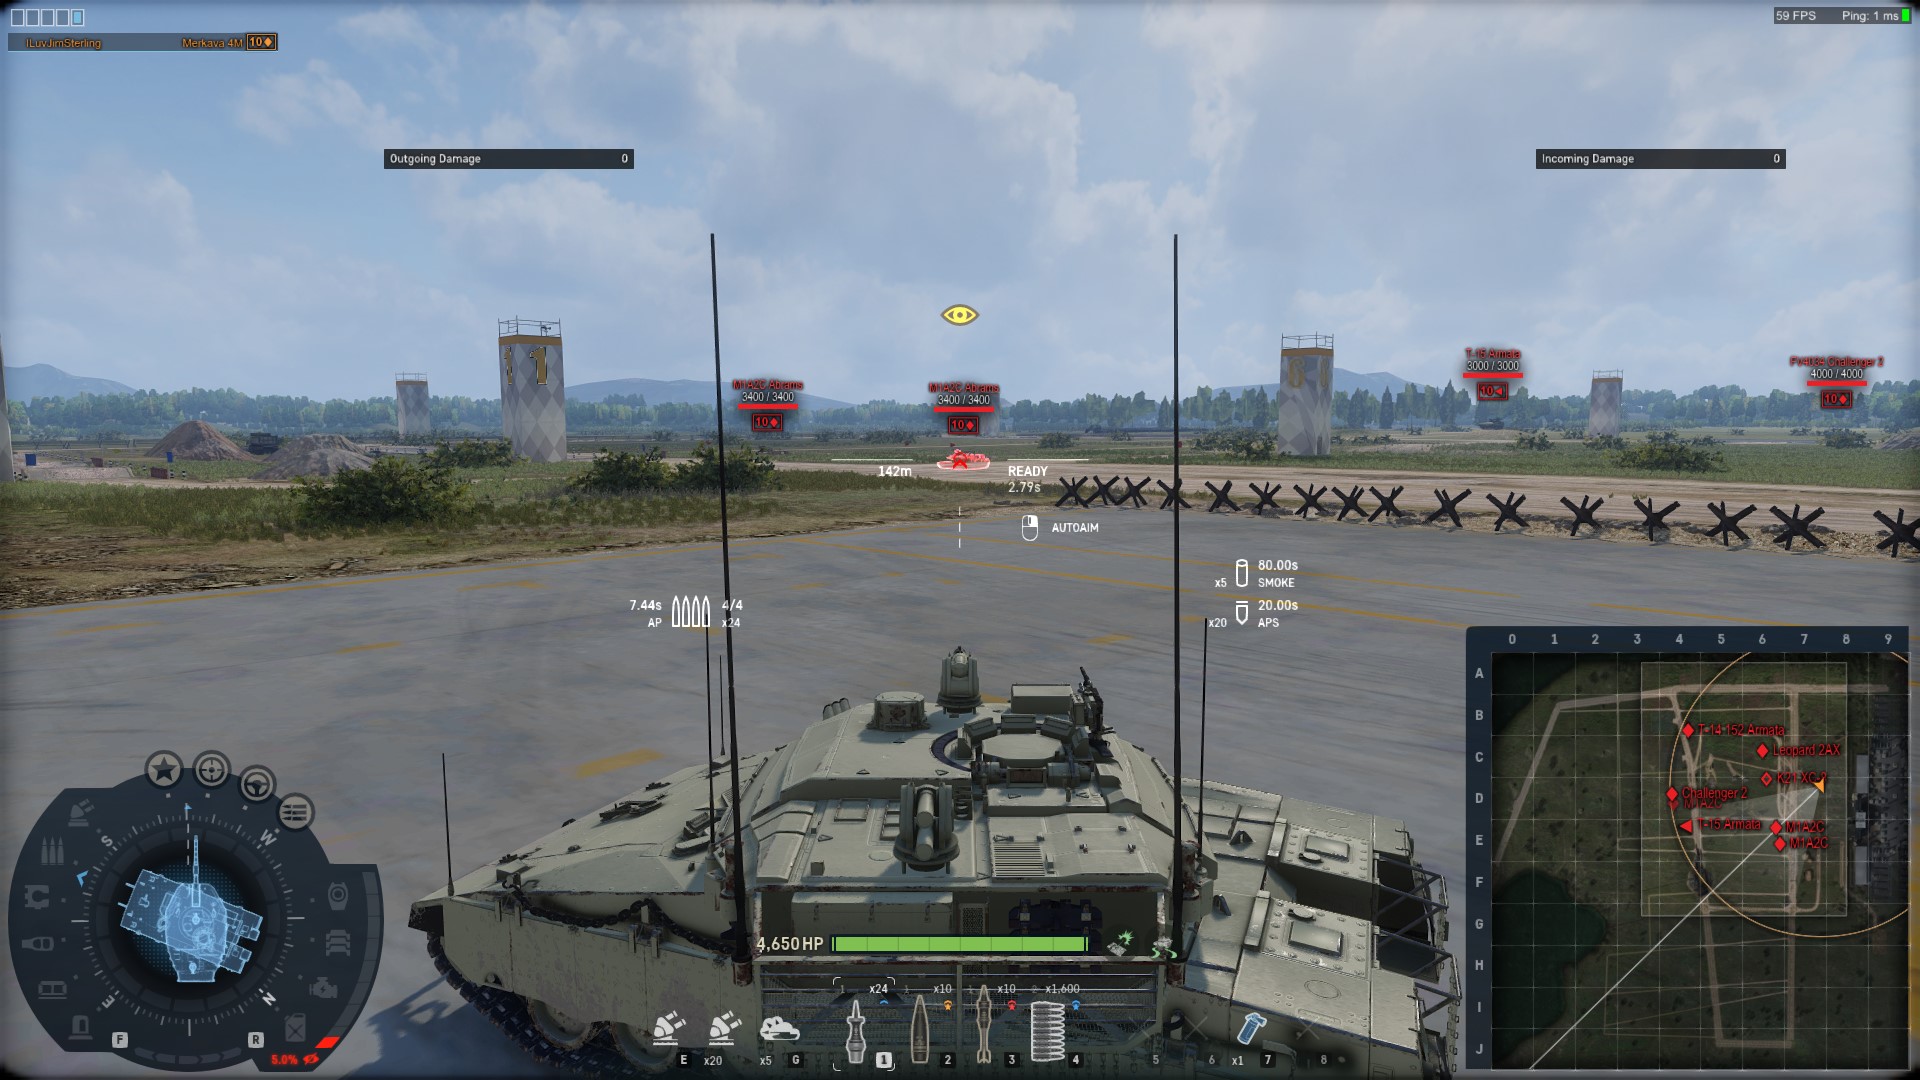
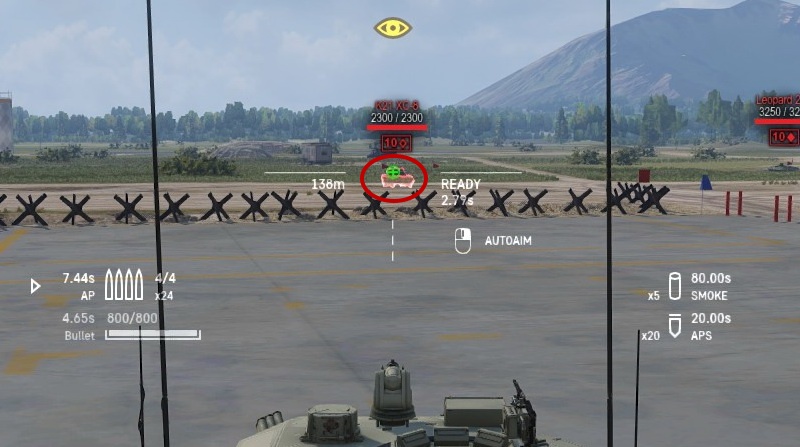
Here’s how the Battle UI looks in its default configuration:
And here are the corresponding settings that can be found in the UI section:
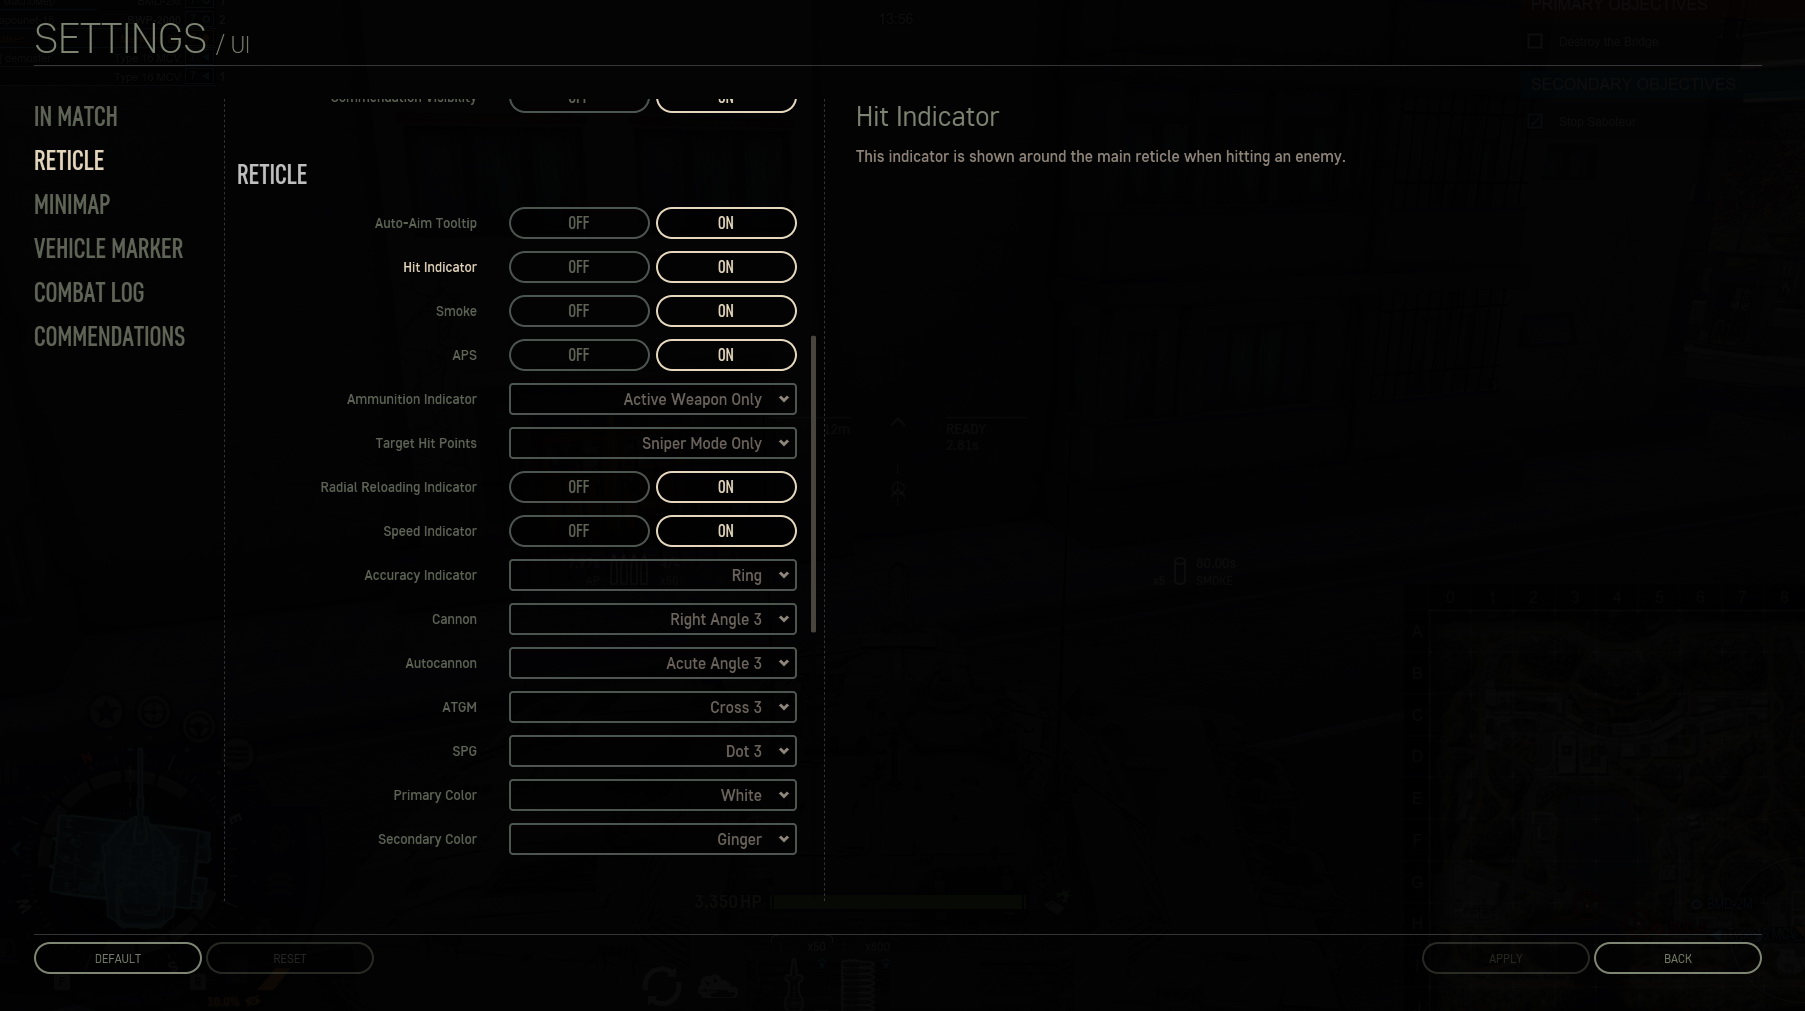
Some elements of the UI can be switched off outright:
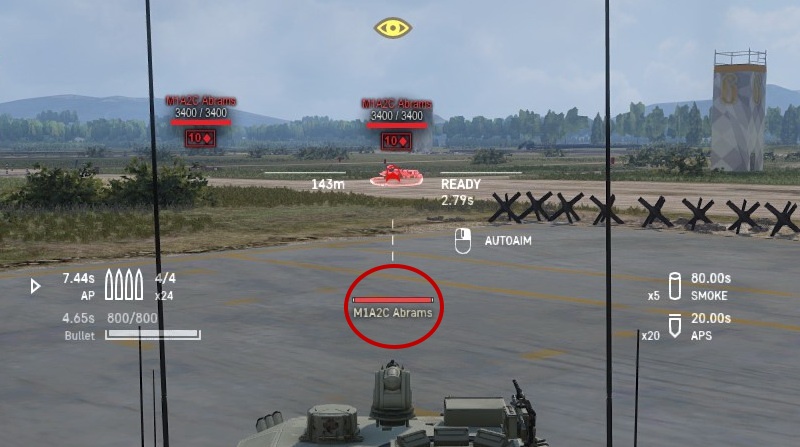
- Auto-Aim Tooltip (telling you to press the Right Mouse Button to lock a target for autoaim)
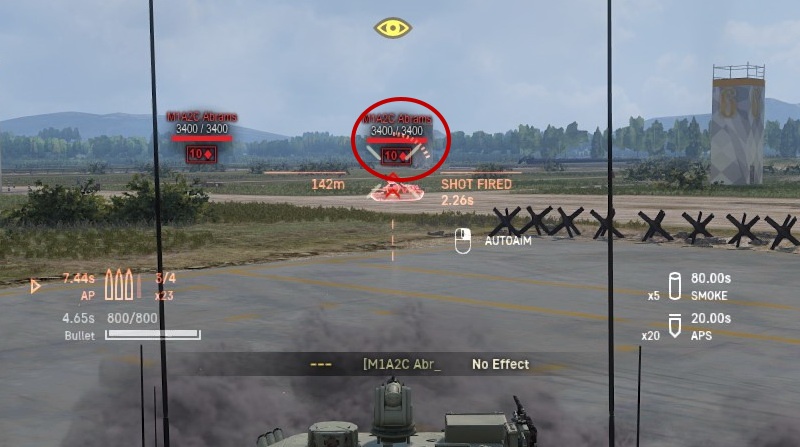
- Hit Indicator (appears around the reticle when hitting an enemy)
- Smoke (the smoke icons on the right side of the battle UI)
- APS (the APS icons on the right side of the battle UI)
Switching these elements off makes the Battle UI more rudimentary (smoke and APS status can still be checked on the status bar below the Reticle UI), but also reduces your situational awareness regarding these life-saving protective systems.
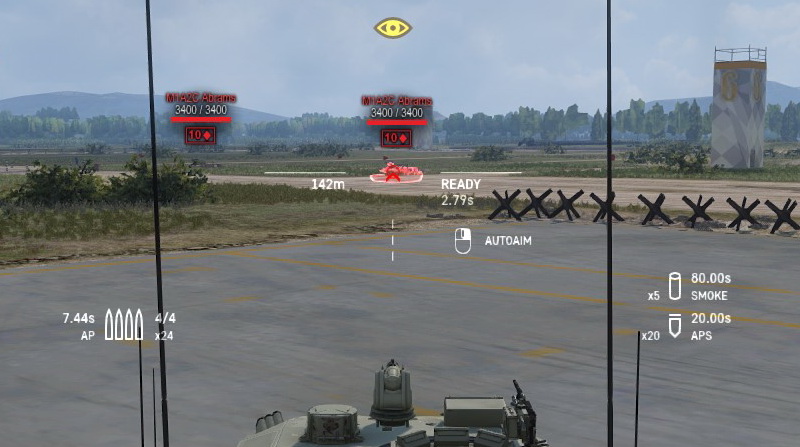
This is how the UI looks with all four features enabled:
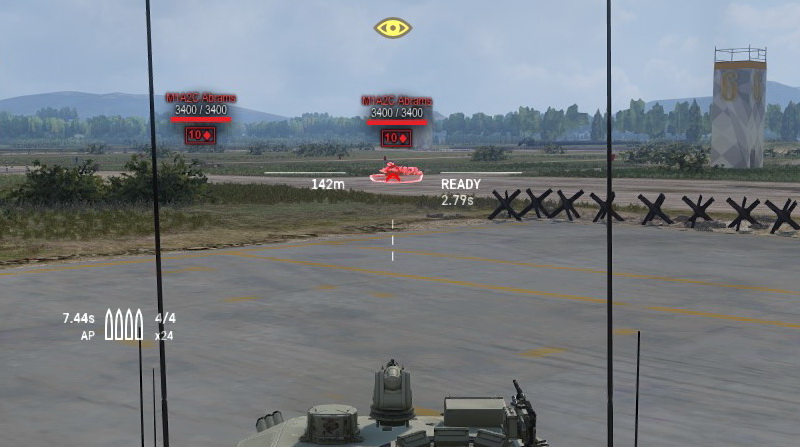
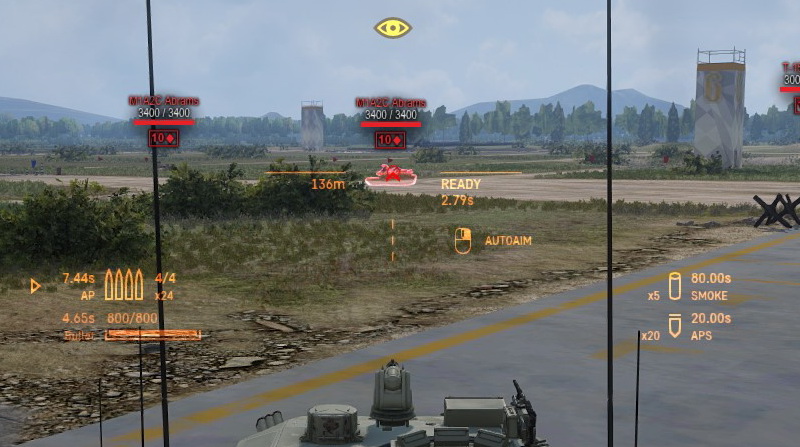
This is how the UI looks with all four features disabled:
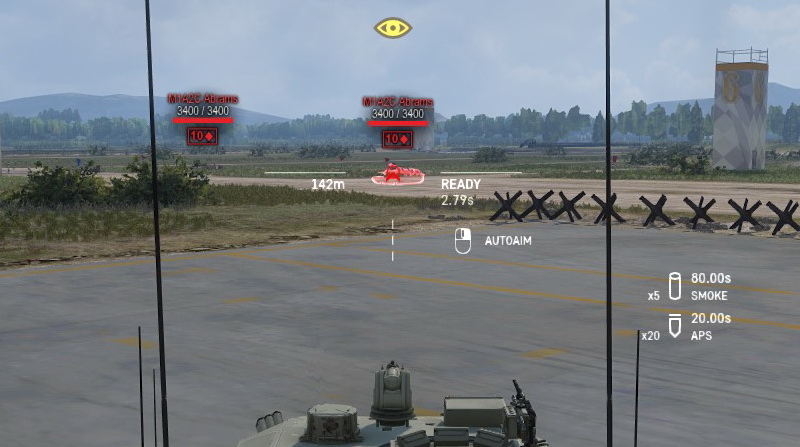
On the left side of the Battle UI, you can see Ammunition Indicator. In the UI settings window, this indicator can be switched to three different presets:
- All Weapons (the indicator appears all the time and for all different weapons at the same time)
- Active weapon only (the indicator appears only for the active weapon)
- Disabled (this element is switched off )
Once again, switching this element off clears the UI a bit at the expense of situational awareness.
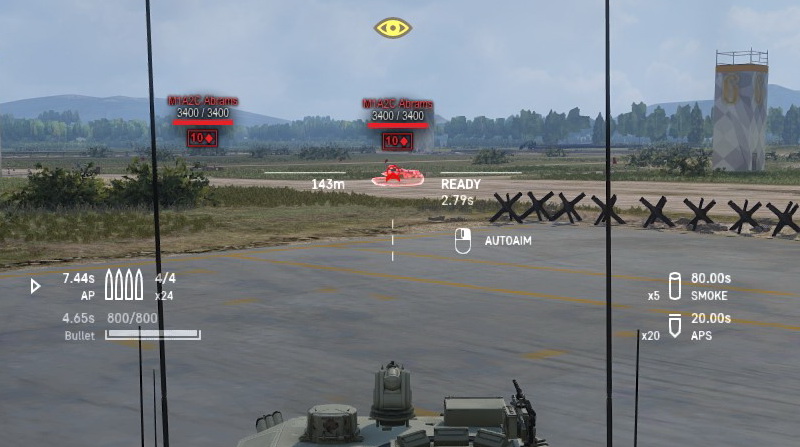
The Target Hitpoints element displays an additional small health bar for the target that you are aiming at right below your aiming reticle. It offers an additional, alternative way to track your target’s hitpoints and is, by default, enabled for the Sniper (First Person) mode only.
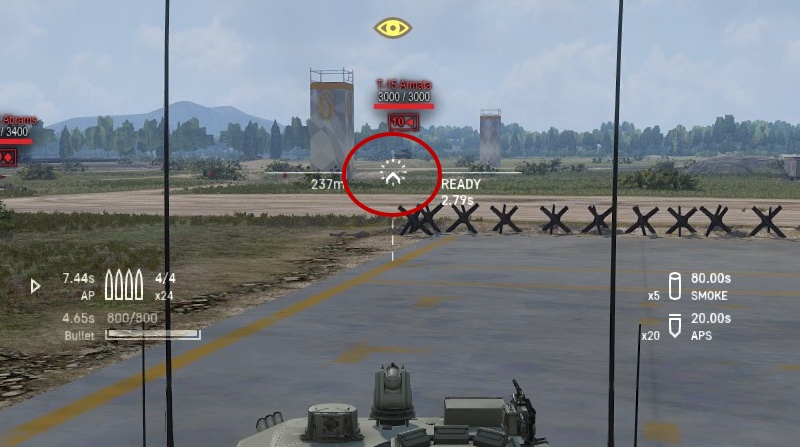
The Radial Reloading Indicator element displays a wheel around the reticle whenever your weapon is reloading. It’s an additional way of tracking the status of your shells, one that is enabled by default. The game offers three basic ways of tracking your shell status – the Ammunition Indicator (described above), this Radial Reloading Indicator and the Shell Status Bar below. You can enable or disable the first two depending on your preferences.
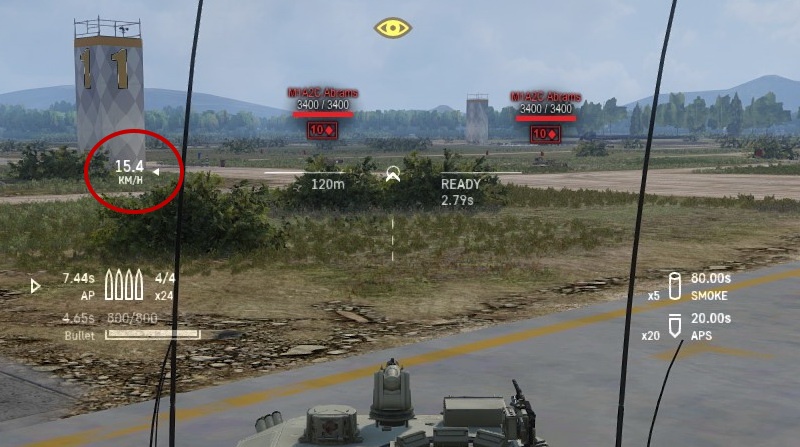
The Speed Indicator element shows you, as its name suggests, your speed. You can find it on the left side of your reticle. You can disable it as well, but please note that, unlike your ammunition count and status, your speed is not displayed anywhere else.
The rest of the Reticle settings allow you to customize the appearance of your Reticle by changing its shapes and colors.
The Accuracy Indicator element is also known as the “Aiming Circle” amongst players. It represents the area of impact of the shell you fire at that point (in other words, your fired shell can impact anywhere within that circle due to a certain randomization factor). You can now make its outline appear as:
- Ring
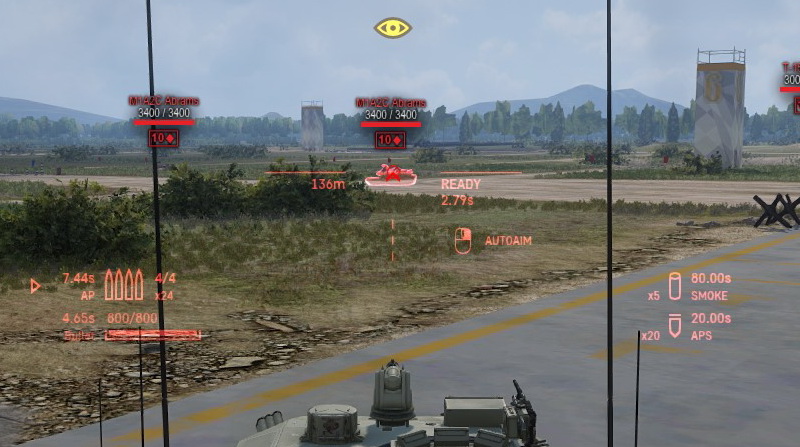
- Rays
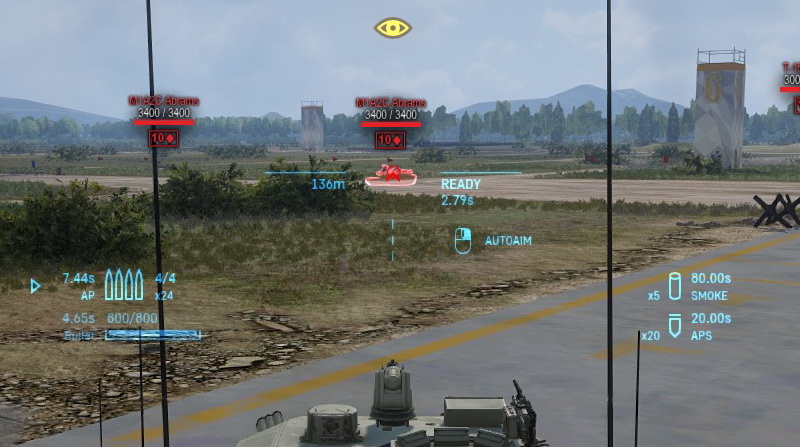
- Dashed Ring
The Cannon, Autocannon, ATGM and SPG settings represent the appearance of your crosshairs in the game for each of these respective weapons separately. You can make your crosshairs look like:
- Several styles of dots
- Several styles of crosses
- Several styles of right angle wedges (Right Angle 3 is the default option)
- Several styles of acute angle wedges
And, last but not least, Color settings allow you to choose the color of your combat UI. There are a number of color settings available to choose from.
Give the customization a look to see which settings fit you the best and let us know on Discord which additional settings you would like to see added.
See you on the battlefield!